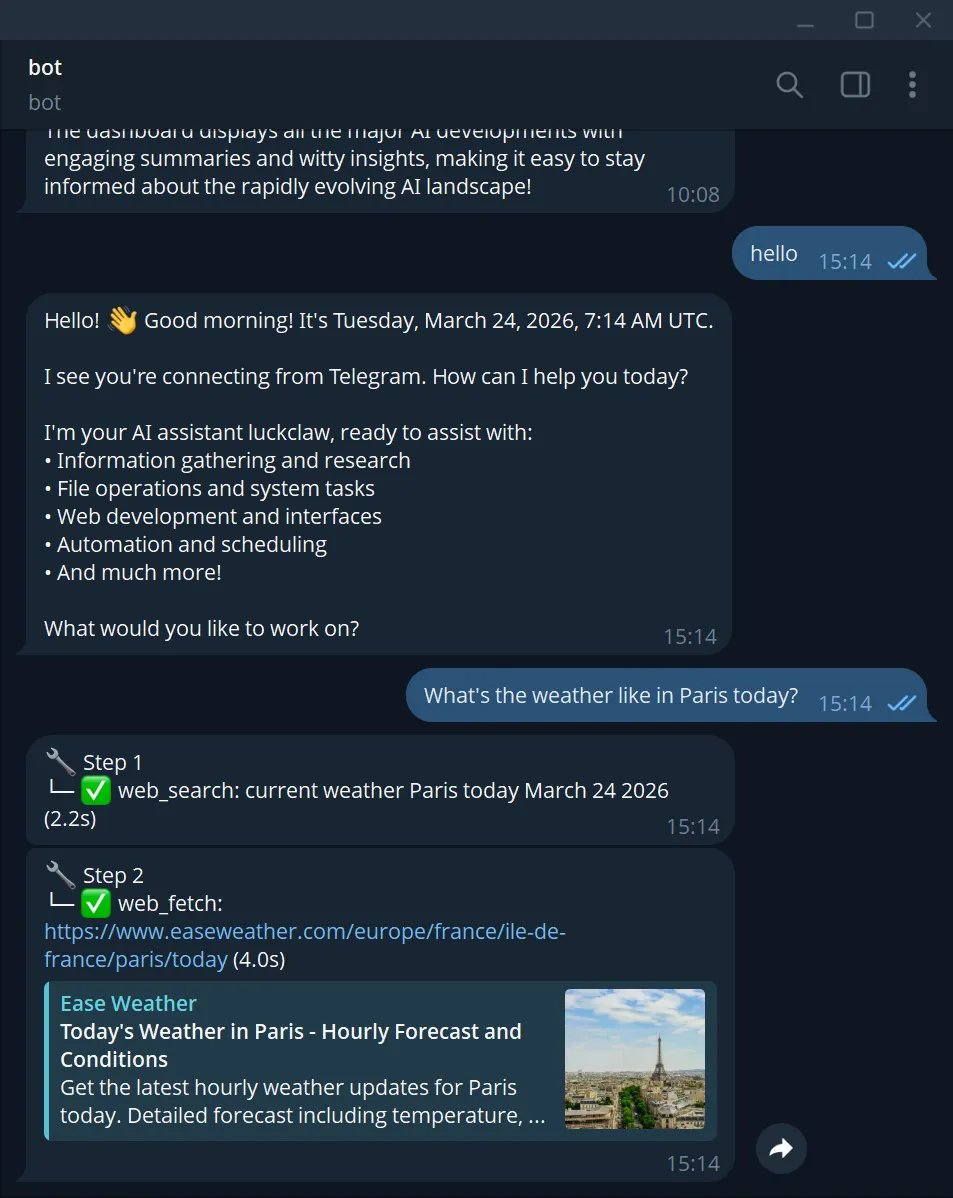
LuckClaw Quick Deployment
This section is validated on the Luckfox WebBee platform, running a Buildroot-based system with Linux kernel version 5.10.160.
1. Installation
- Ensure the development board is connected to a router and has internet access. Then log in to the board via SSH and configure the proxy.
- Ensure that CA certificates (for HTTPS access) and the curl utility are installed.(These are pre-installed by default on the latest Luckfox Pico series firmware.)
- On Debian systems, if CA certificates are not installed, run:
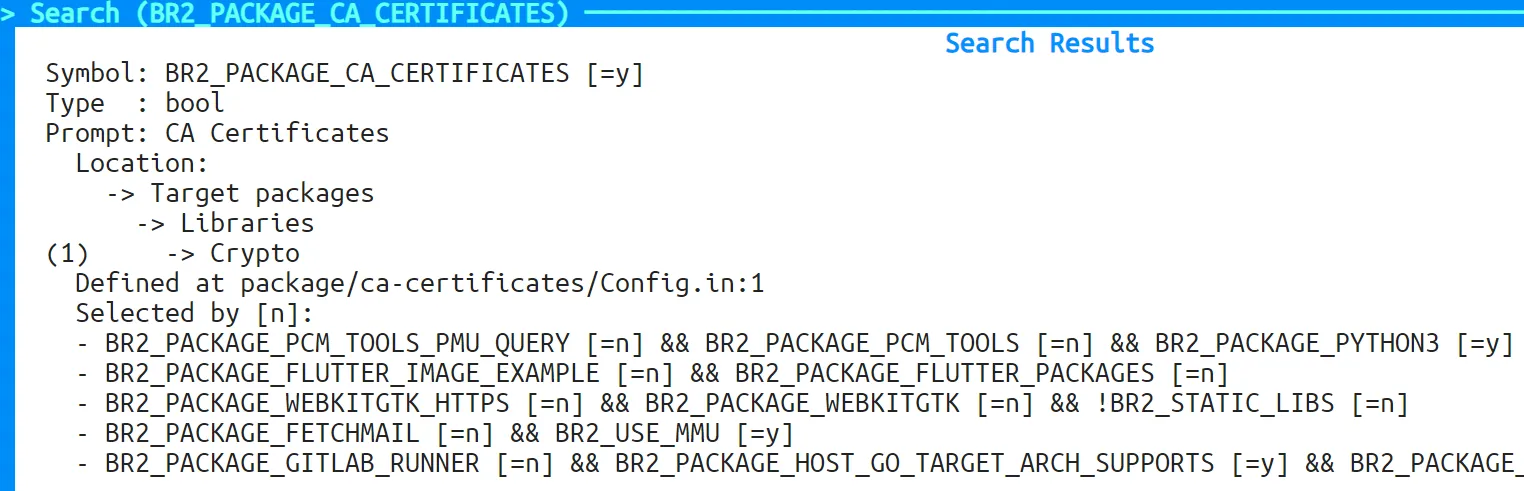
sudo apt install -y ca-certificates- On Buildroot systems, if CA certificates are not enabled, you need to enable them in the SDK and rebuild the firmware.Refer to the Buildroot section of the corresponding product SDK:
BR2_PACKAGE_CA_CERTIFICATES=y
- Run the quick deployment command:
curl -sSL https://raw.githubusercontent.com/LuckfoxTECH/luckclaw/master/script/install.sh | bash
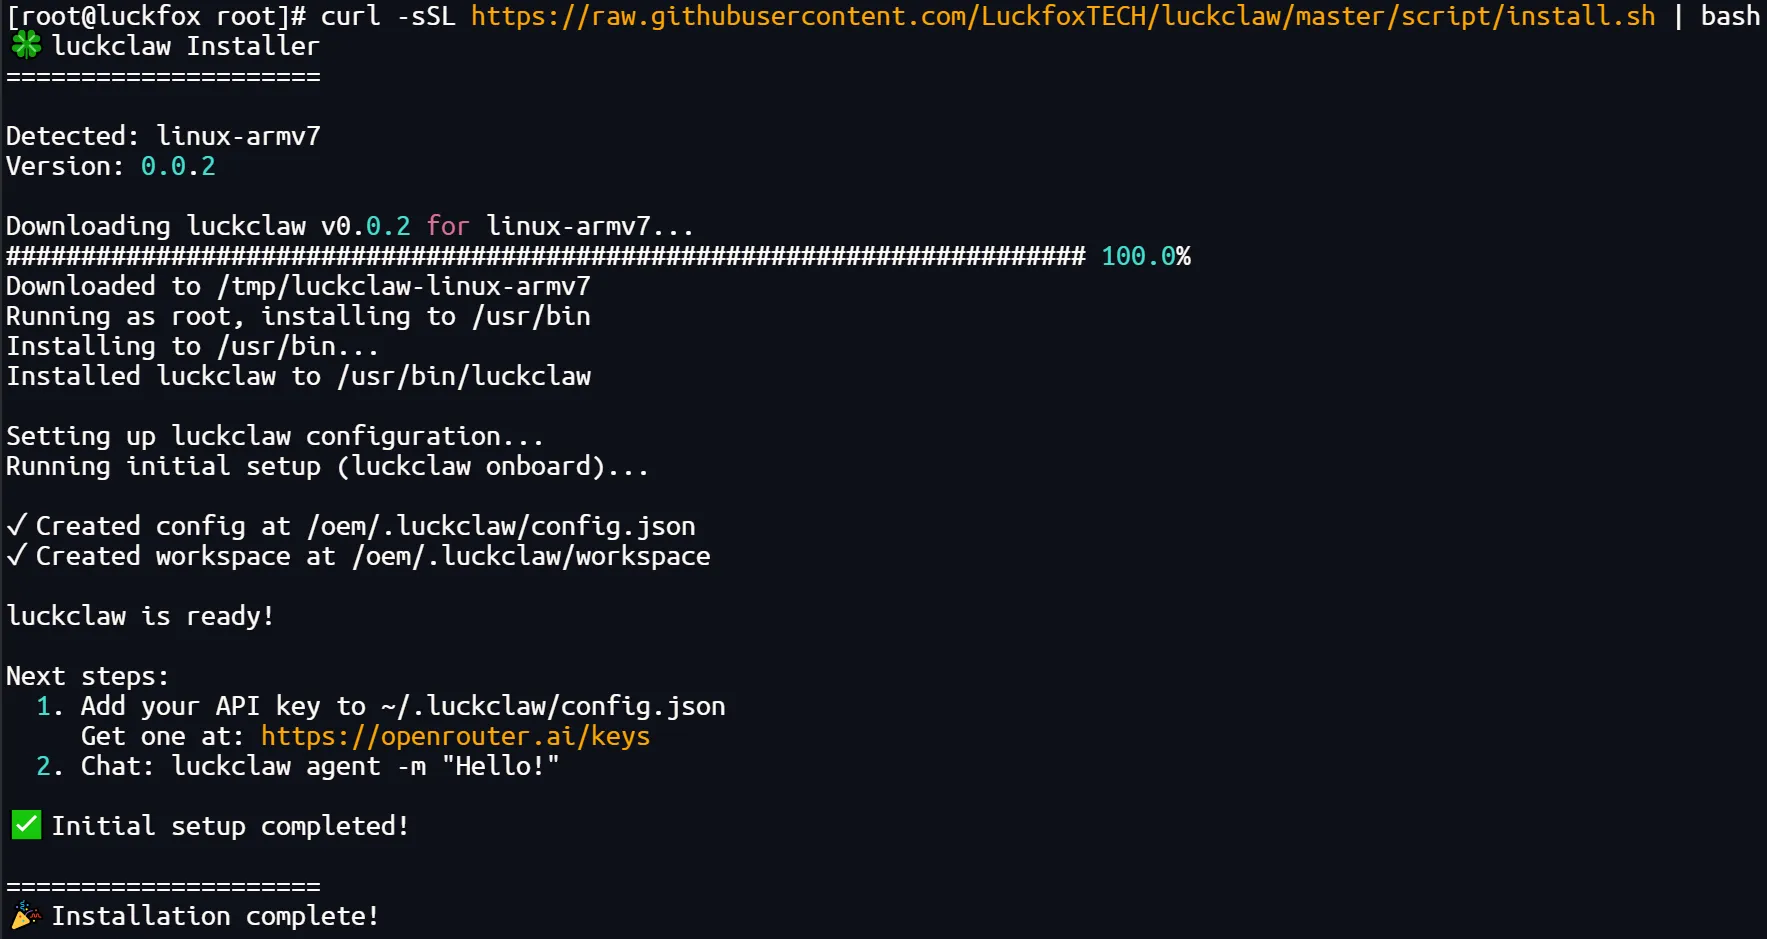
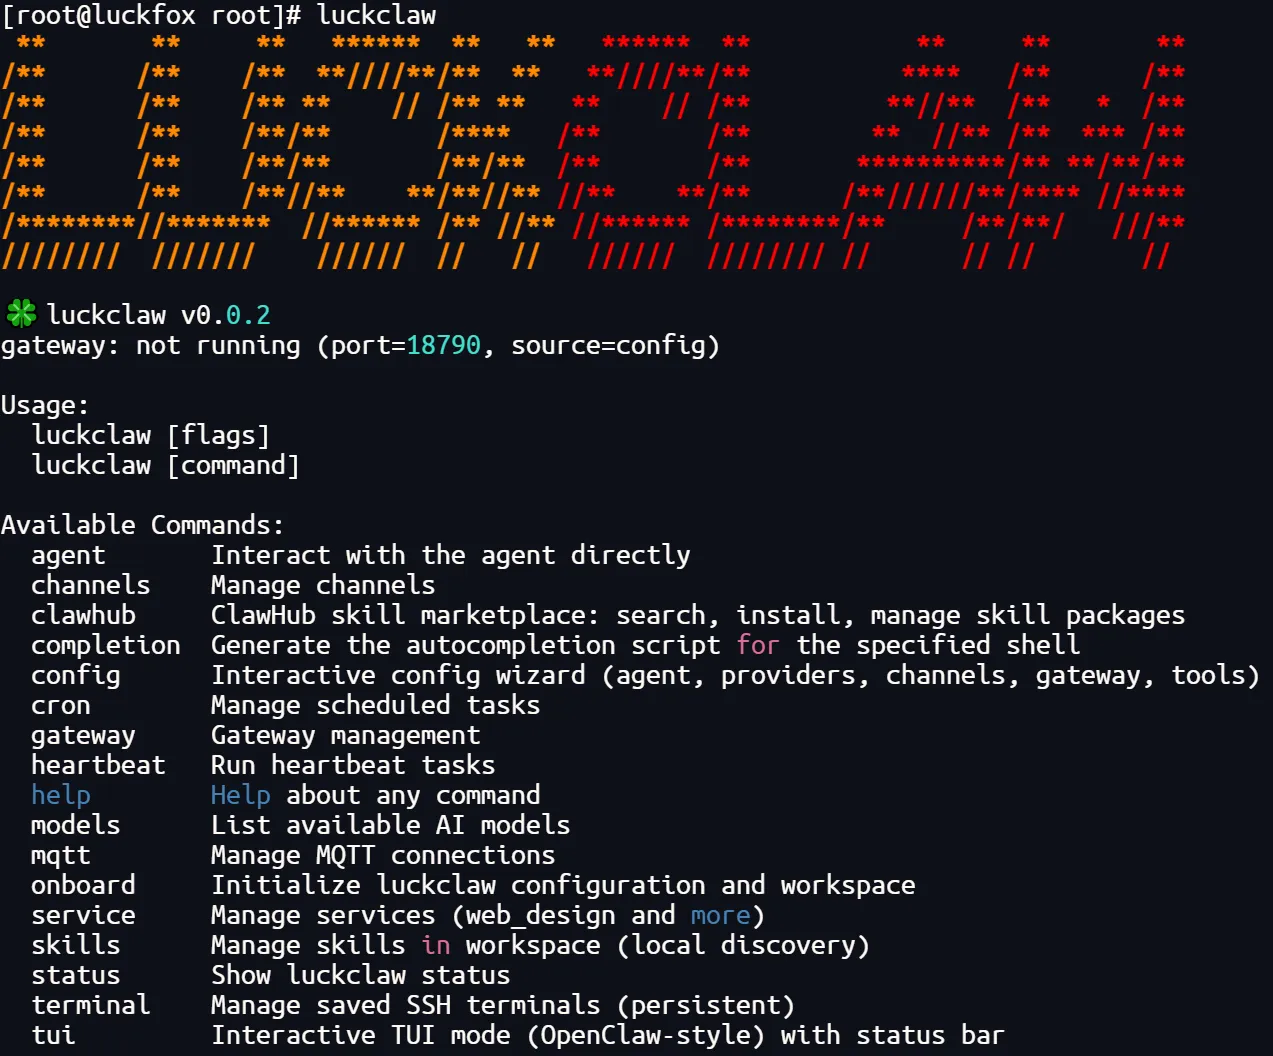
- After execution, if the terminal displays LuckClaw version information and usage instructions, the installation is successful.
2. LuckClaw Configuration Overview
- Run the following command in the terminal and press Enter to enter the configuration interface:
luckclaw config
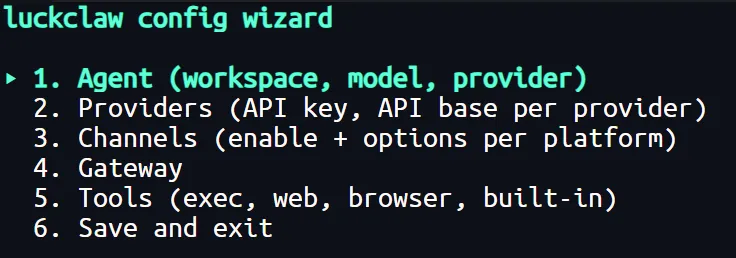
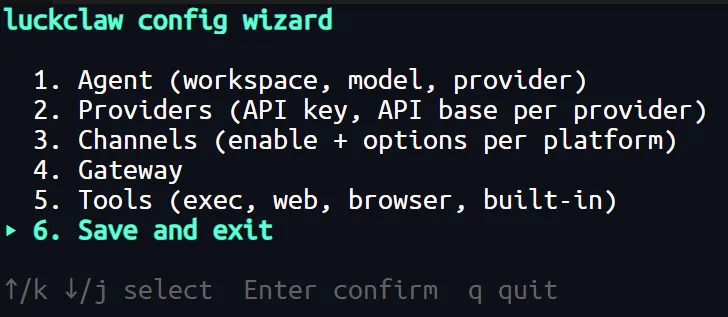
- The configuration wizard will appear as follows:
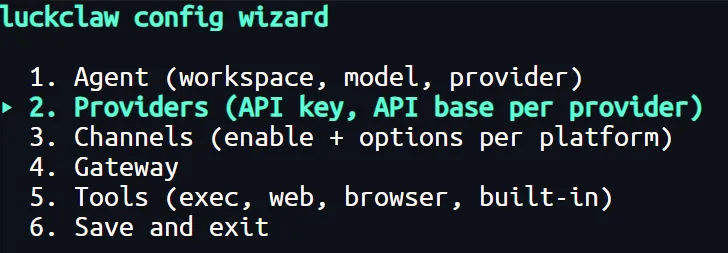
luckclaw config wizard▸ 1. Agent (workspace, model, provider)2. Providers (API key, API base per provider)3. Channels (enable + options per platform)4. Gateway5. Tools (exec, web, browser, built-in)6. Save and exit
-
Agent (workspace, model, provider): Configure the Agent workspace and select the AI model along with its provider.
-
Providers (API key, API base per provider): Configure API credentials for model providers, such as API Key and API Base URL.
-
Channels (enable + options per platform): Select and configure the platforms to integrate with.
-
Gateway: Gateway-related settings. Default configuration is usually sufficient.
-
Tools (exec, web, browser, built-in): Enable tools available to the Agent, including:
- Exec: Allow execution of shell commands
- Web Search (Brave): Perform web searches via Brave Search
- Web Fetch (Firecrawl): Fetch and parse web content
- Web Proxy: Access network resources via proxy
- Browser (remote): Remote browser capability
- Agent Browser: Automatically invoke browser actions when configured
- Agent Memory: Enable memory (MEMORY.md + auto organization)
- Self-Improving: Improve via error feedback
- ClawdStrike: Security scanning and risk detection
- Evolver: Track experience and learning progress
- Adaptive Reasoning: Dynamically adjust reasoning depth
-
Save and exit: Save all configurations and exit the setup interface.
-
3. LuckClaw Configuration Steps
- Visit the API Key management page: https://platform.deepseek.com/api_keys
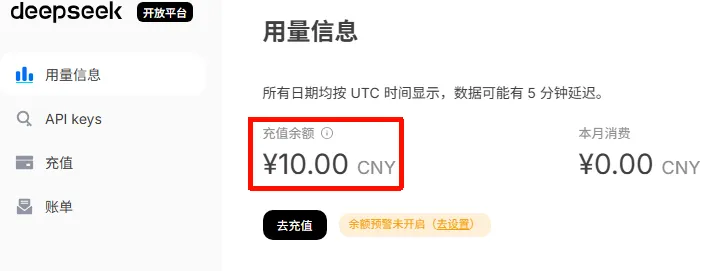
- Ensure your account has available balance
- Click “Create API Key”, set a name, and generate the key
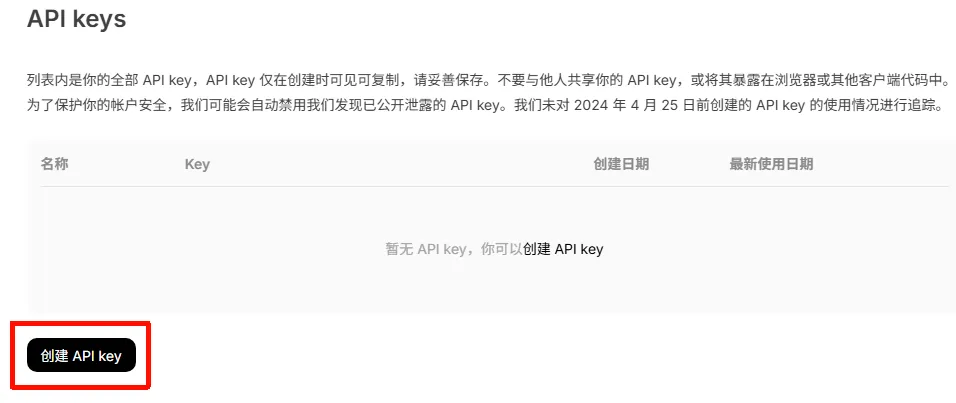

- Copy the generated API Key(Note: The key is only visible once and cannot be retrieved later. If lost, it must be regenerated.)

- Ensure your account has available balance
- Run the following command to enter the configuration interface:
luckclaw config
- Use the arrow keys to select Providers and press Enter.
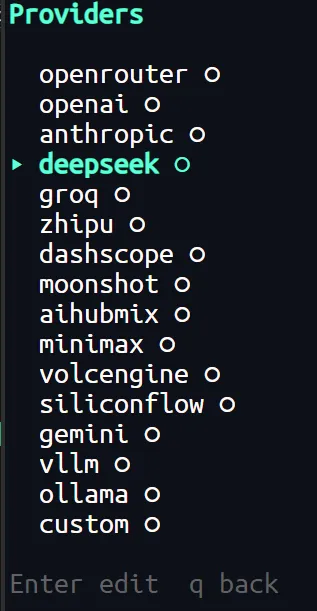
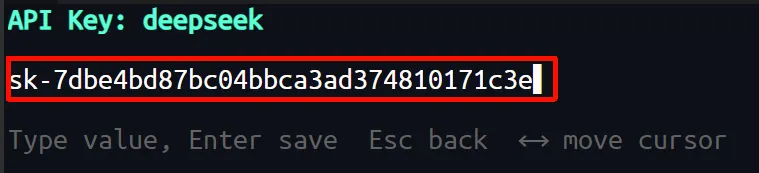
- Take DeepSeek as an example. Select deepseek, paste the API Key into the corresponding field, and press Enter to save.

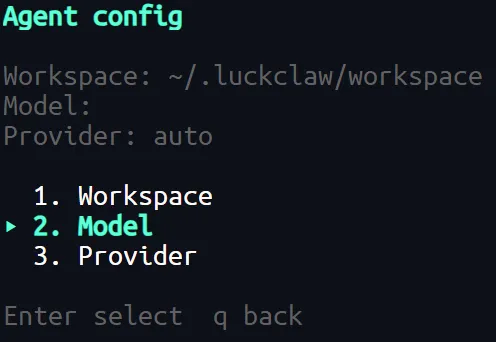
- Press q or Esc to return to the main menu, then enter Agent, select the Provider, and configure the Model.(After the API Key is set, available models are usually listed for reference.)
- Enter the model name and press Enter to save.
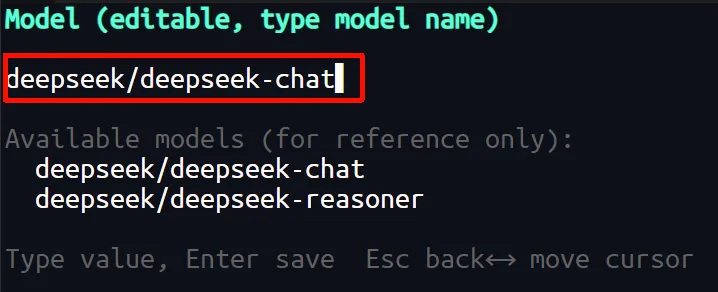
Some LLM providers do not automatically list available models. In such cases, you must check the official documentation and enter the model name manually.
- Select Save and exit to save all configurations and exit.
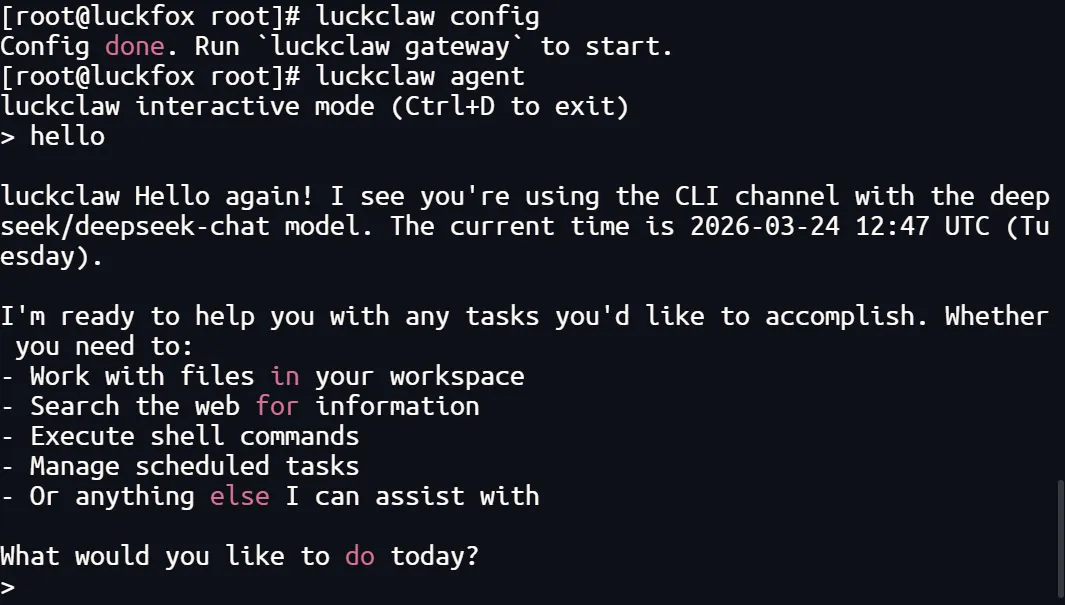
- After configuration, you can interact with the Agent to verify that the LLM API is working properly.
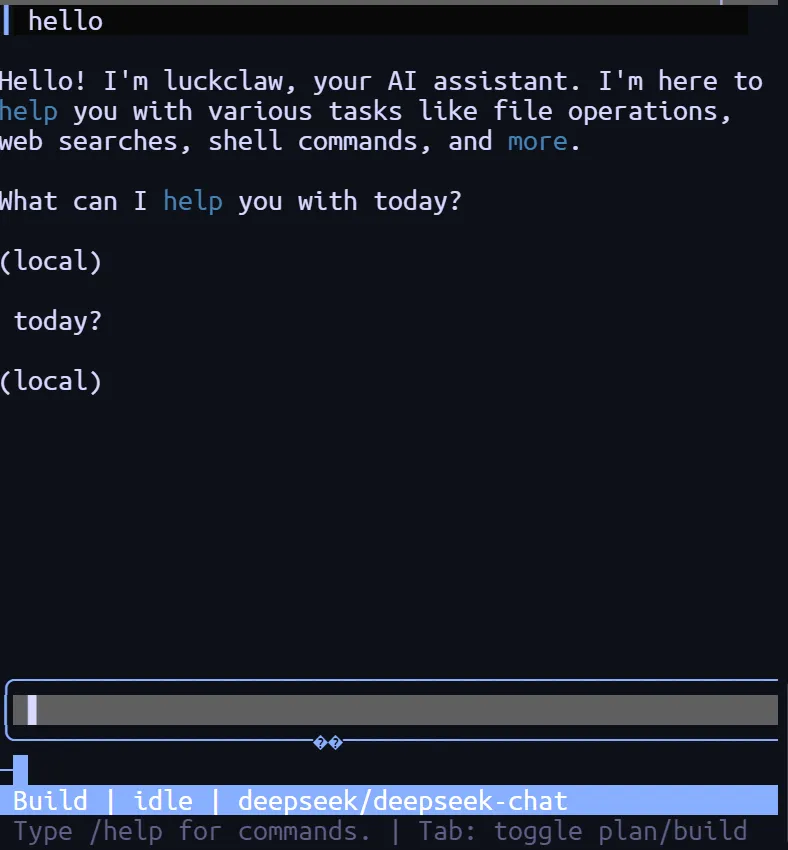
- Run the following command to enter the TUI interface for a more intuitive interaction experience. Press Ctrl+D to exit:
4. Gateway Integration with Messaging Platforms
LuckClaw’s Gateway mode supports integration with common messaging platforms, enabling interaction with LuckClaw through third-party applications.
For other platforms, please refer to the official documentation for integration details.
4.1 Telegram
-
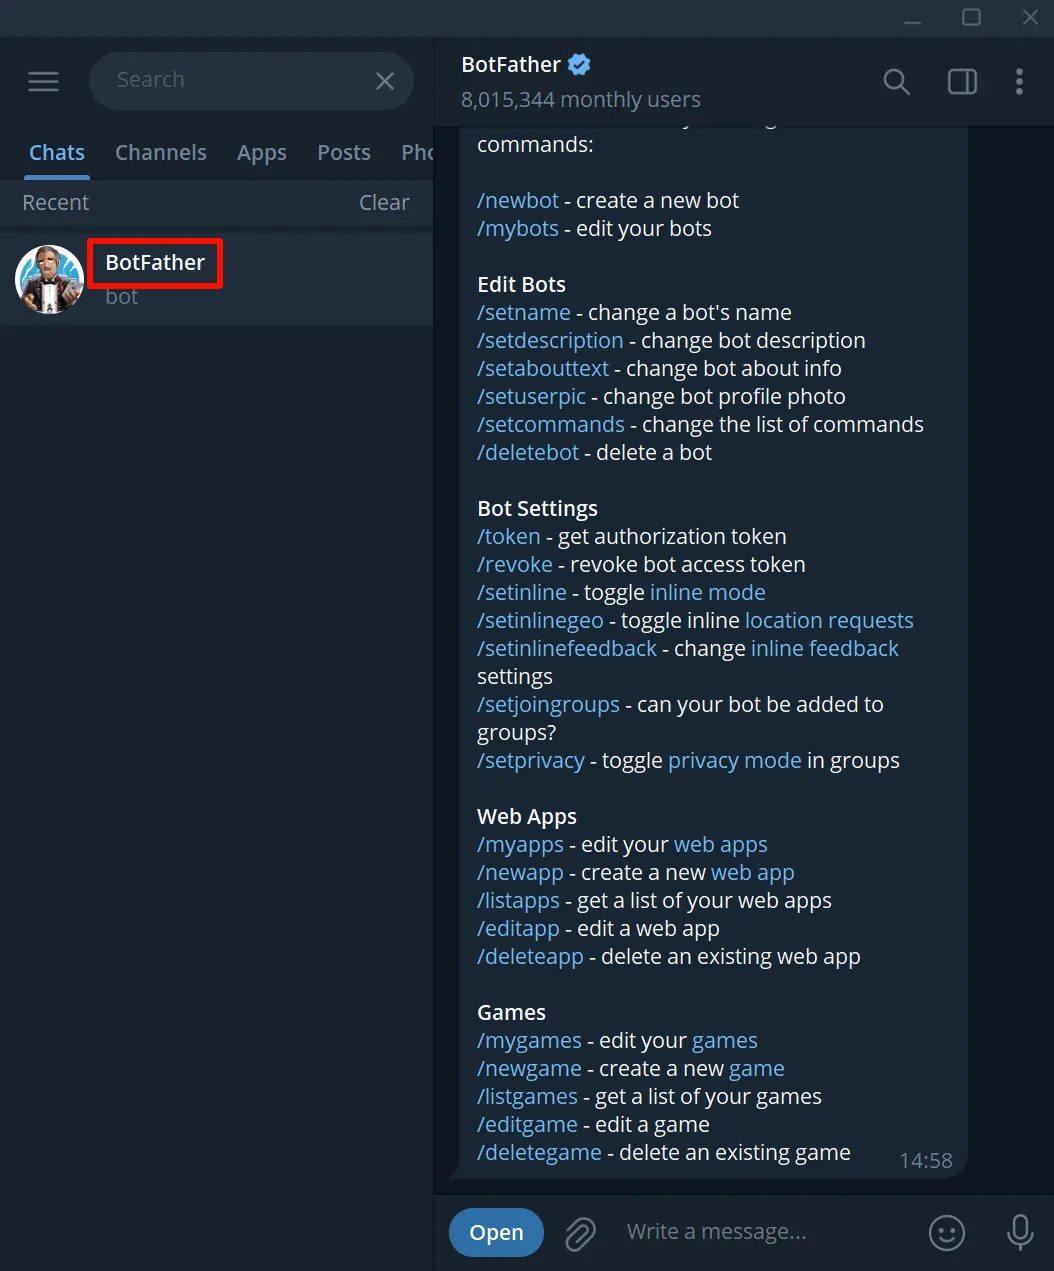
Search for BotFather in Telegram.
-
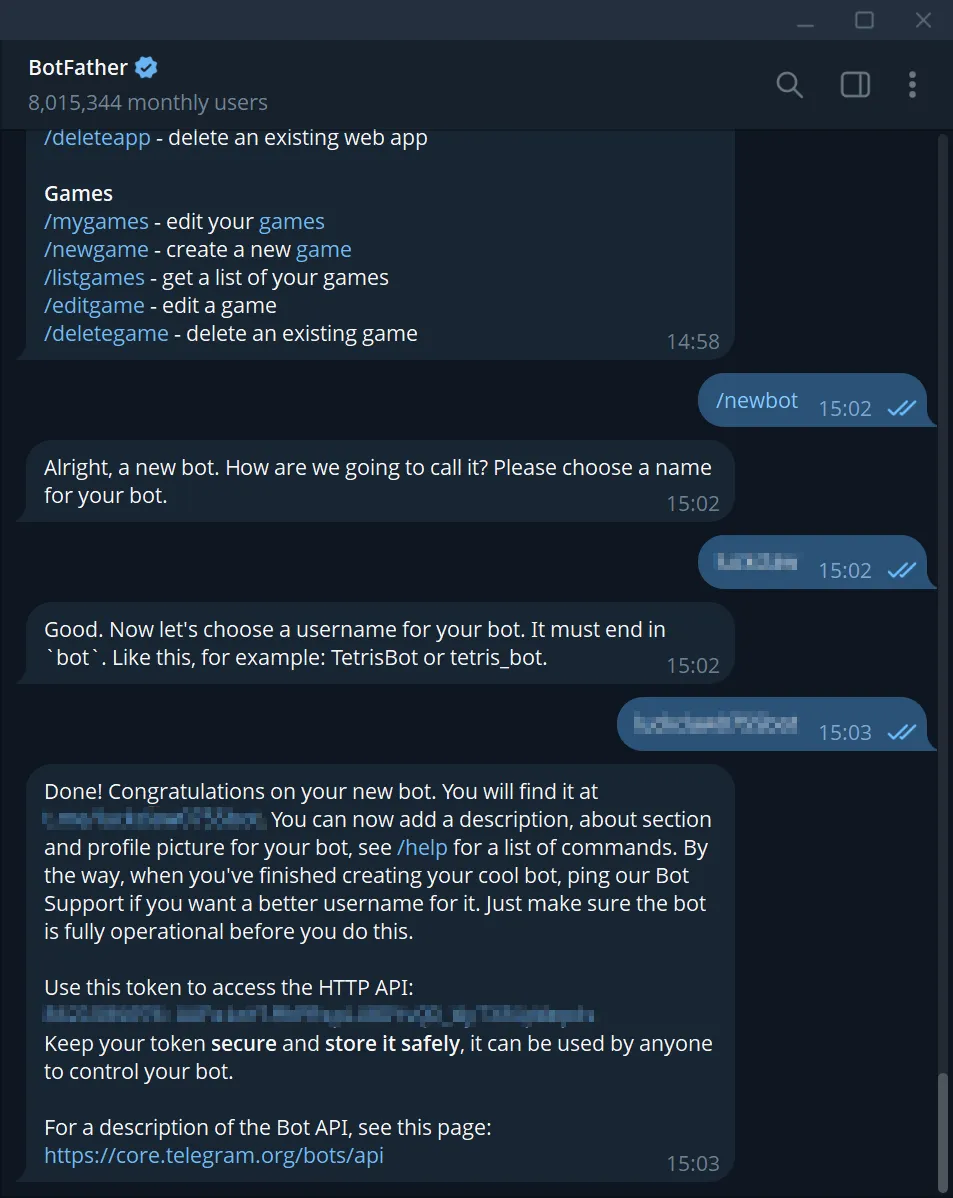
Use /newbot to create a new bot, and follow the prompts to set the bot name and username.
-
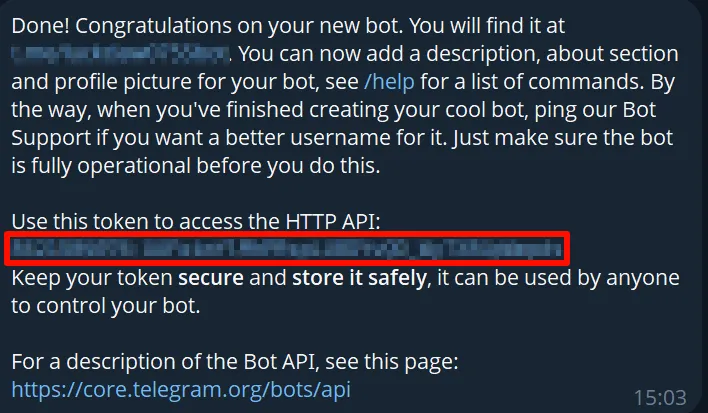
After creation, copy the generated HTTP API Token and paste it into the LuckClaw configuration.
-
Run the following command in the terminal to enter the configuration interface:
luckclaw config -
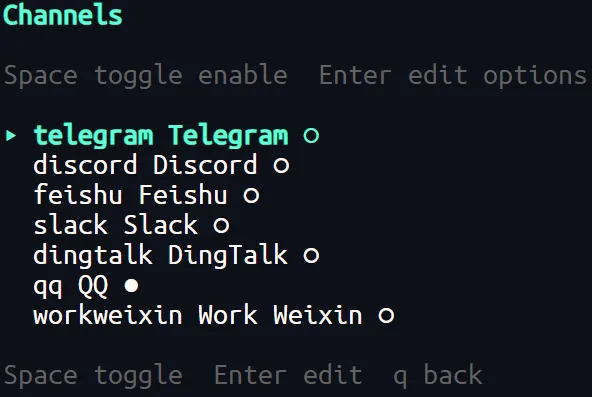
Use the arrow keys to select Channels, then press Enter to enter the configuration page.
-
Enable enable, enter the Token, and press Enter to save and return to the main menu.

-
Select Save and exit to confirm and save all configurations.
-
Start the Gateway service on the development board. You can then interact with LuckClaw via Telegram:
luckclaw gateway start