Image Burning Steps
Note: The EMMC version cannot use the SD card.
rpiboot (Bootloader) Download
WINDOWS
- Download and run the rpiboot software as an administrator.
- Choose one of the two download options:
- Note: If you have previously used CM4, you may need to update the drivers.
Other Platforms
Installation
- Disable antivirus software.
- Install the drivers and boot tool. After installation, there will be a
rpiboot.exeapplication in the installation directory.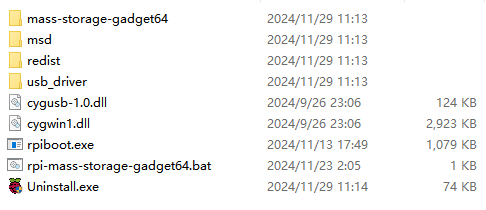
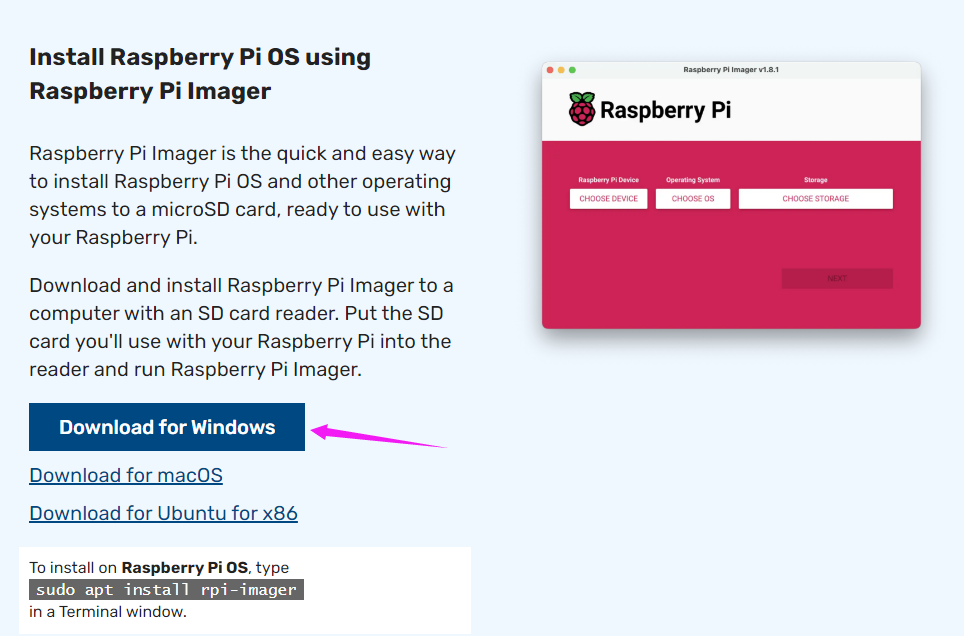
Download the Burning Software
- Download the burning software
Enter Burn Mode
- Connect BOOT to GND, or set the BOOT switch to ON. You can check the BOOT pin position on the product's WIKI page.
- First, connect the Type-C interface (SLAVE interface) to USB and then connect the power. Some boards may require additional power.
- At this point, when the board is connected to the computer and powered, the device manager on the computer will recognize a BCMxxx device.

- Then, run
rpibootand select the corresponding executable program or script.
- For example, if you are connecting CM5, the following will appear.
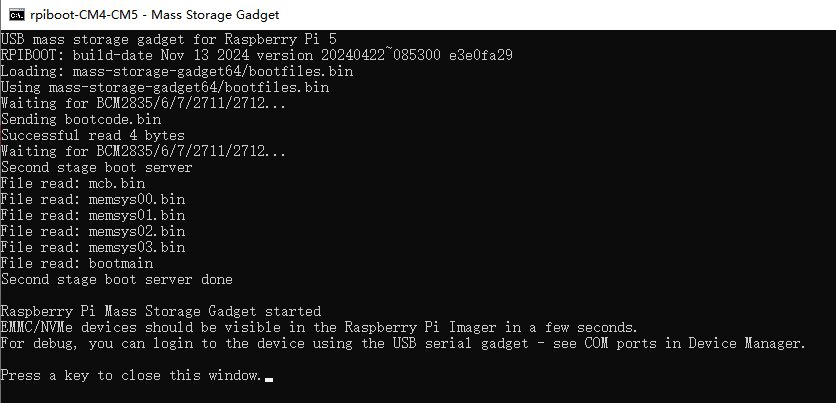
- Wait for the process to finish. A USB drive will appear in "My Computer".

If you are unable to burn the image correctly, try the following troubleshooting steps:
- Ensure that your Compute Module version is correct. The eMMC version will have an additional IC. Only eMMC versions can be burned in this way.
CM5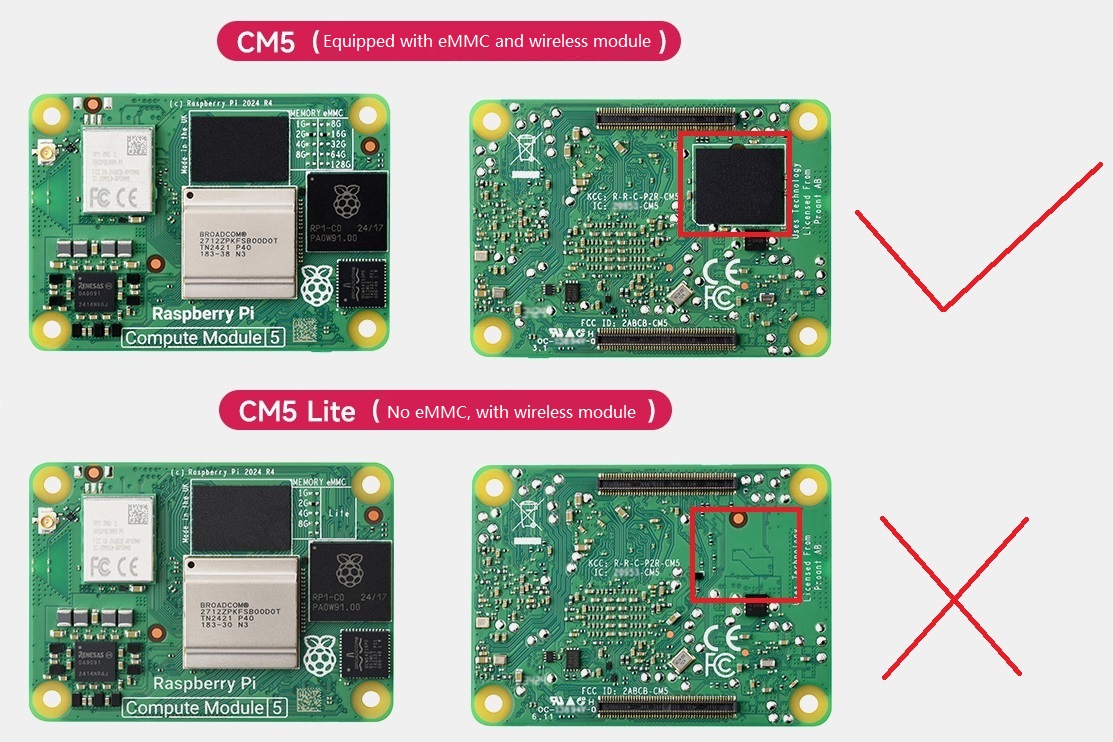
- Try using a different USB data cable.
- Try using a different USB port on your PC.
- Try restarting the PC.
- Try reinserting the CM5.
- Try burning the image on another computer.
- Ensure that your Compute Module version is correct. The eMMC version will have an additional IC. Only eMMC versions can be burned in this way.
- Note: If you are prompted to format, do NOT format the device.
Burn the Image
- Open Raspberry Pi Imager.

- Choose the hardware to burn (from step 1). For CM5, select PI5.
- Choose the image version. You can select the appropriate one for your needs (you can also choose to format or select your backup system).
- Select the drive letter to burn to. Only removable drives (USB extended drives) are supported.
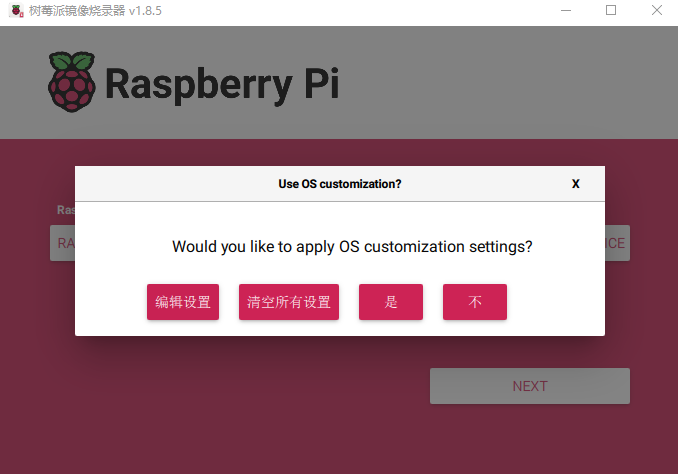
- Once everything is selected, click NEXT. If Raspberry Pi OS is chosen, it will appear. If not needed, click "No". If you’ve saved configurations before, click "Yes". For first-time use, set up the username and password under "Edit Settings".
- A fresh system does not have a default username and password. You can configure them directly in the configuration interface. If you don’t configure them, you will need to connect a keyboard and mouse after boot to set them up.
- Note:
- CM4: If using the latest Raspberry Pi OS, USB2.0 is in OTG mode by default. On some baseboards with an added HUB chip, if CM4 reports the error:
config failed, hub doesn't have any ports! (err -19) - USB will still work. If you want to remove this error, remove
otg_mode=1in the[cm4]section ofconfig.txtand adddtoverlay=dwc2,dr_mode=host. If the system does not show this error, you can ignore it.
- CM4: If using the latest Raspberry Pi OS, USB2.0 is in OTG mode by default. On some baseboards with an added HUB chip, if CM4 reports the error:
Burn Complete and Restart
- After the burning process is complete, disconnect the power, unplug the cable from the computer, disconnect BOOT, or set the switch to OFF. Power it on again.