NFS Mounting Tutorial
In many development environments, there are scenarios where it is necessary to transfer files between the computer and the development board. The NFS mounting feature can effectively solve this problem. In this tutorial, we will mount NFS between the Luckfox Pico Ultra W and the computer to achieve file transfer.
1. Ubuntu Host Environment Preparation
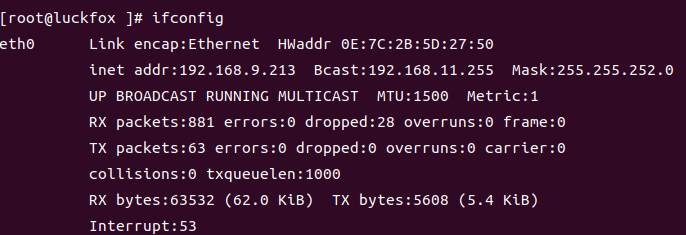
Connect the development board to the computer via a network cable. Ensure that both devices are in the same network segment and can ping each other.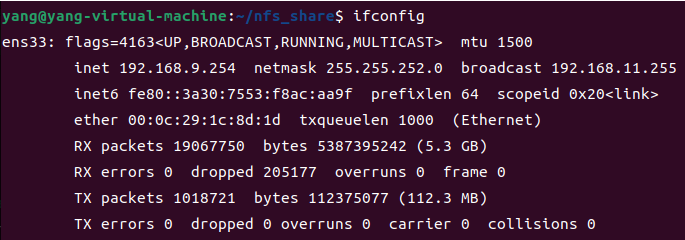
Install the NFS server.
sudo apt update
sudo apt install nfs-kernel-server
Create and configure the shared directory.
sudo mkdir -p /home/nfs_share
sudo chmod 777 /home/nfs_share
Configure the shared environment
# Edit the "exports" file
sudo nano /etc/exports
# Add the following to the /etc/exports file:
/home/nfs_share *(rw,sync,no_subtree_check,no_root_squash)
# You can also specify the IP address of the development board, for example
/home/nfs_share 192.168.1.*(rw,sync,no_subtree_check,no_root_squash)
Start the NFS service
# Reload the exports configuration
sudo exportfs -ra

# Restart the NFS service
sudo systemctl restart nfs-kernel-server

# Check the status of the NFS share
sudo exportfs -v
2.Settings on the development board side
Create mount directory
mkdir -p /mnt/tmpMount the NFS share
# Mount the NFS share. Assume the Ubuntu IP address is 192.168.1.10
mount -t nfs -o nolock 192.168.1.100:/home/nfs_share /mnt/tmp
Verify the mount
```shell
# Check if the mounting was successful
df -h
mount | grep nfs
```
Add files at any end and write them, then check at the other end whether the files exist and confirm their contents:
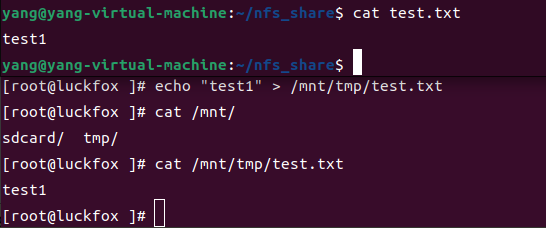
Since then, the NFS sharing has been successfully set up.