Remote Access
1. Introduction to Cross-Region Networking
Cross-region networking enables devices distributed across different locations and network environments to communicate as if they were on the same LAN.
This avoids the high costs and complex configuration of public IPs or self-built VPNs. It supports NAT/firewall traversal, fast access, end-to-end encryption, and multi-platform compatibility.
Common solutions include xEdge (a lightweight tool recommended for users in China), Tailscale, and Zerotier.
They are widely used in distributed office setups, remote operations, and IoT device management.
2. xEdge Client (Recommended for Users in China)
- Download and install the xEdge client. Follow the official guide to complete authentication. Once completed, the host will join the secure intranet and can communicate with other terminals using an internal IP address.
- Enable the xEdge service on PicoKVM:
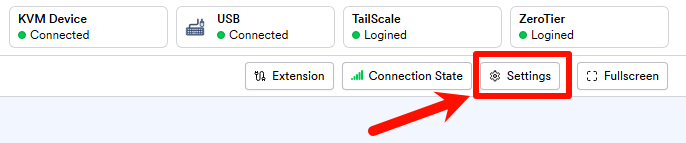
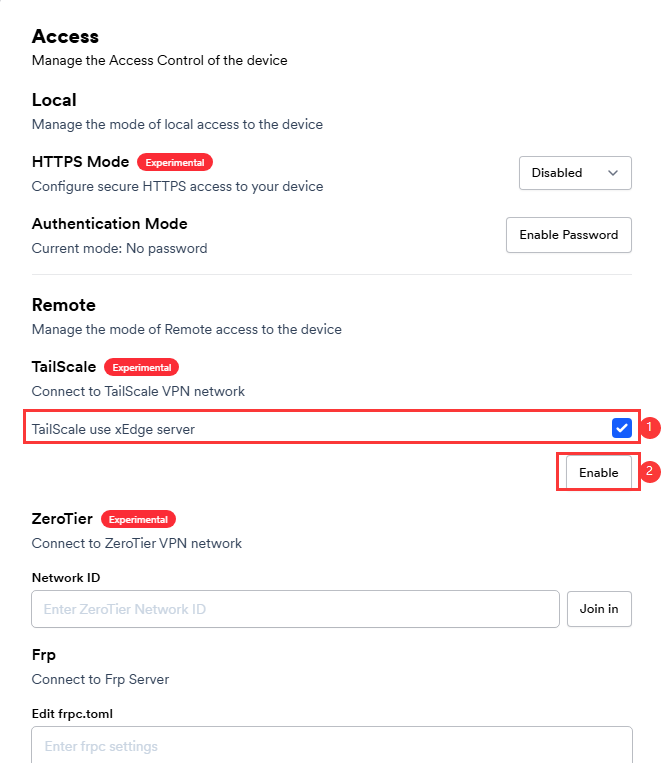
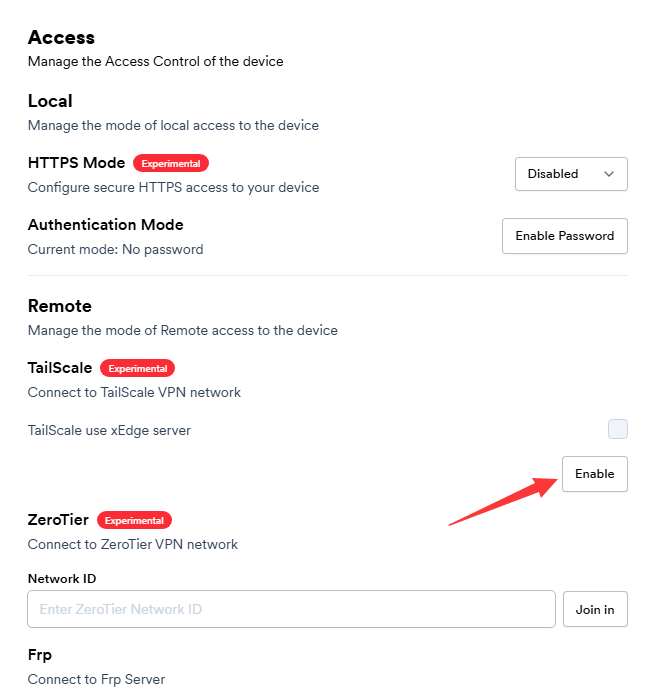
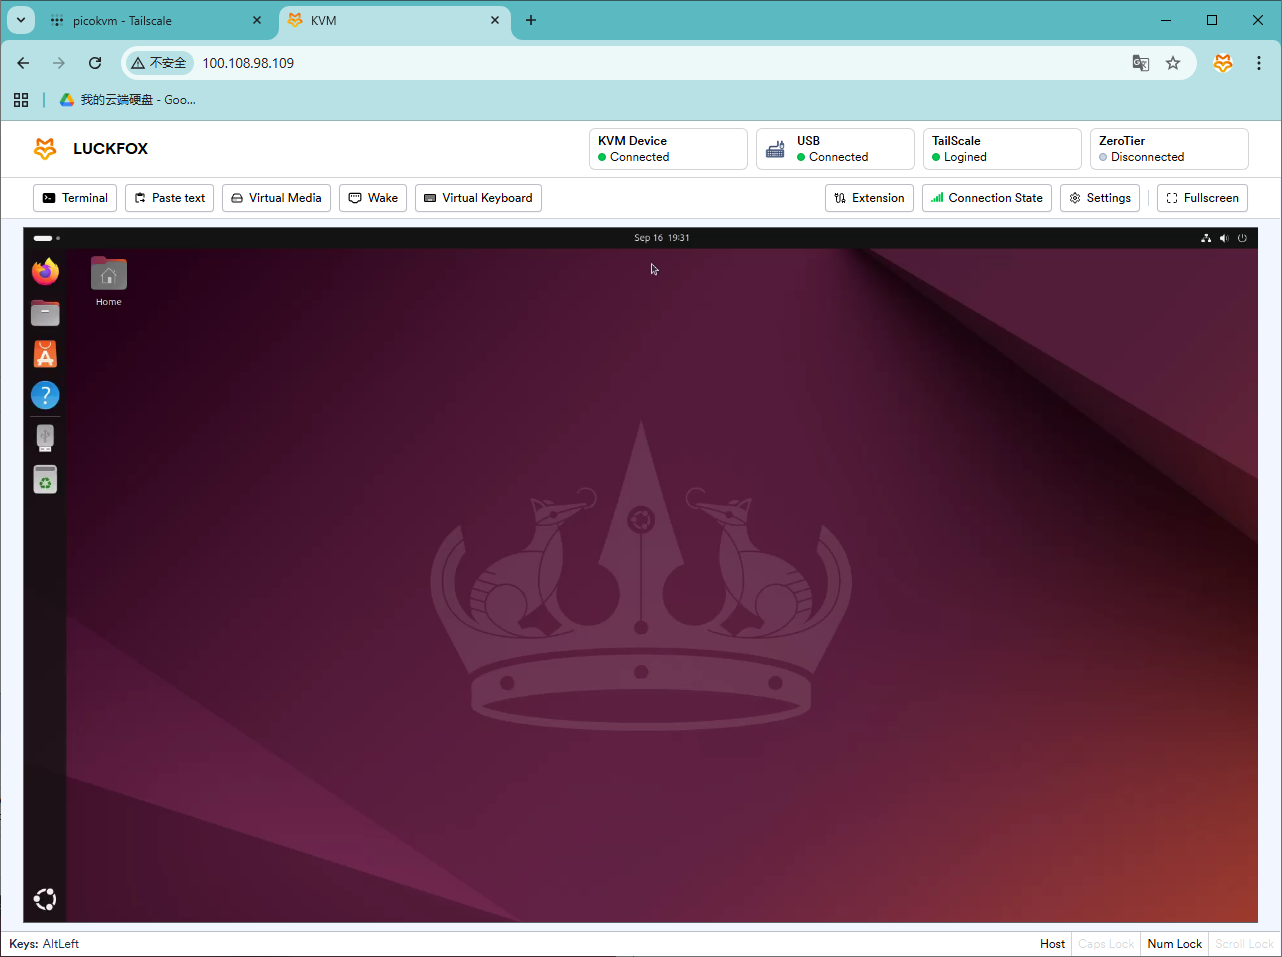
- On the PicoKVM interface, go to Settings → Access
- Check TailScale usexEdge server, then click Enable
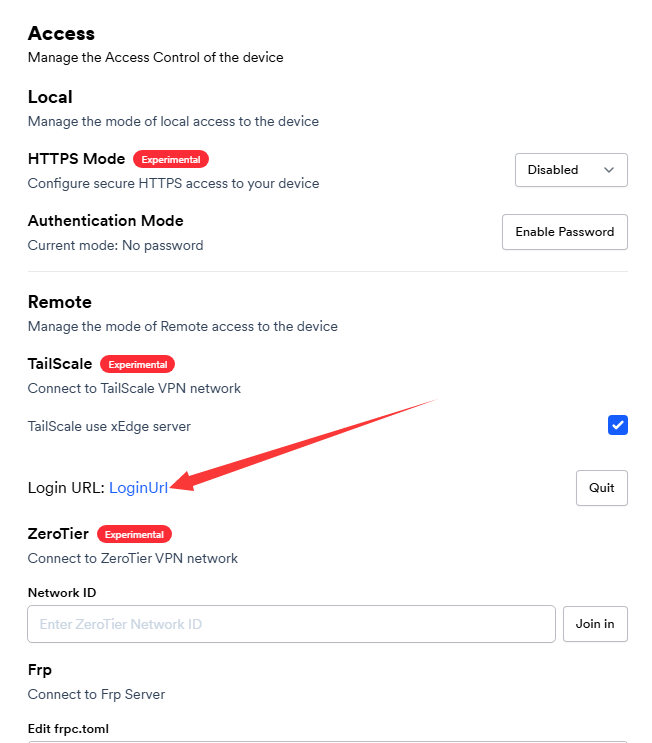
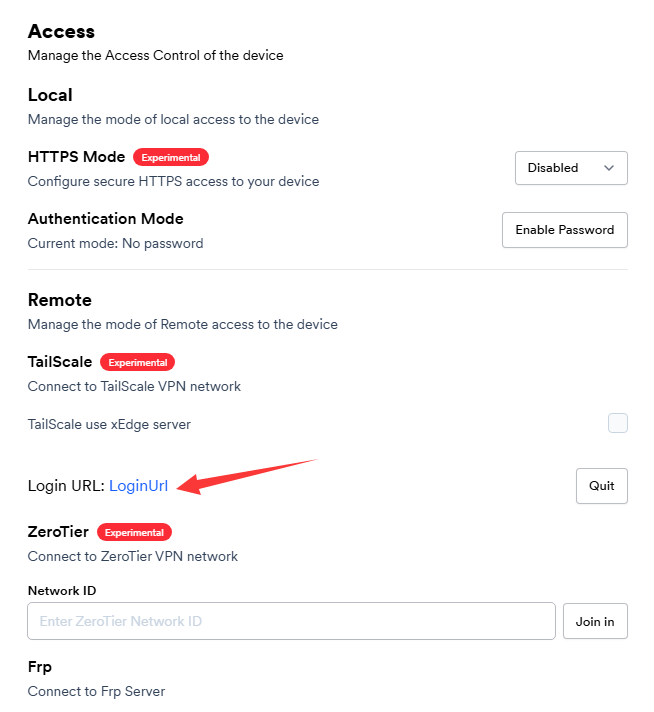
- Click LoginUrl to complete login
- PicoKVM will successfully connect to the secure intranet
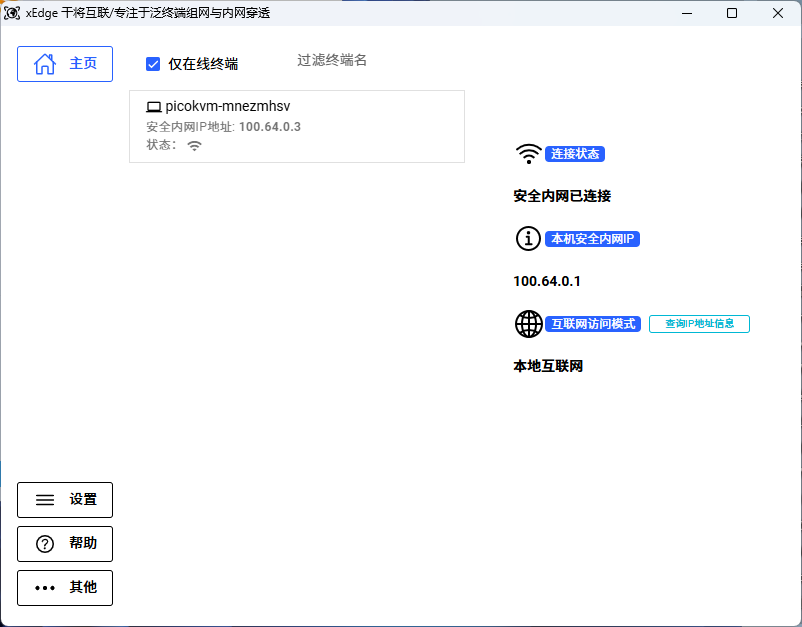
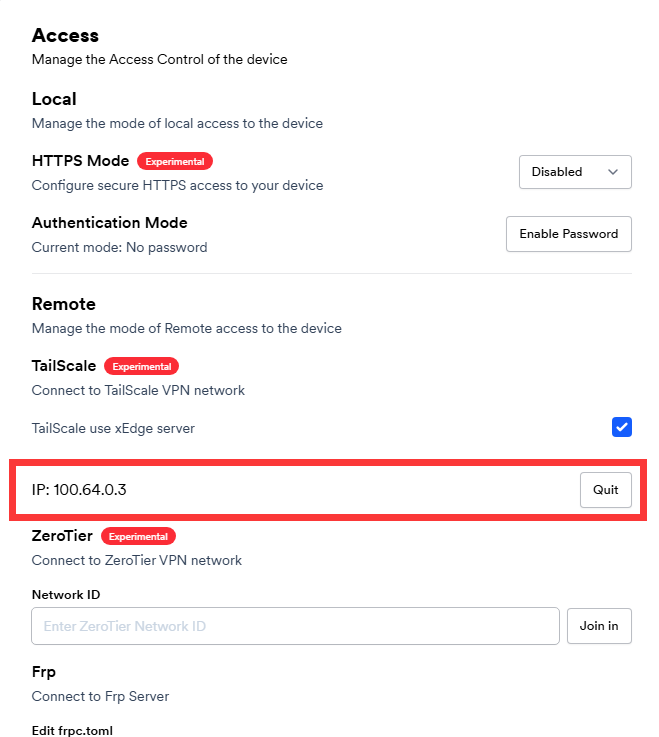
- Copy the assigned IP address from the xEdge client (make sure the proxy is disabled) and use it to access PicoKVM
- On the PicoKVM interface, go to Settings → Access
3. TailScale (Requires VPN/Proxy)
Host Side
- Go to the TailScale website and download the version corresponding to your OS (Windows is used as an example here).
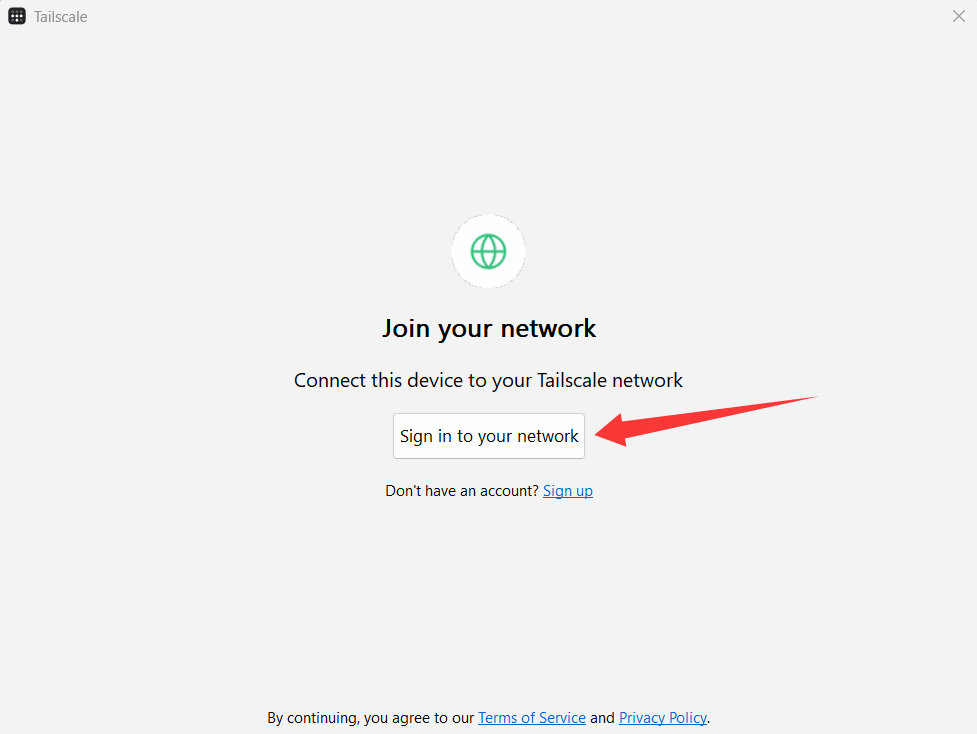
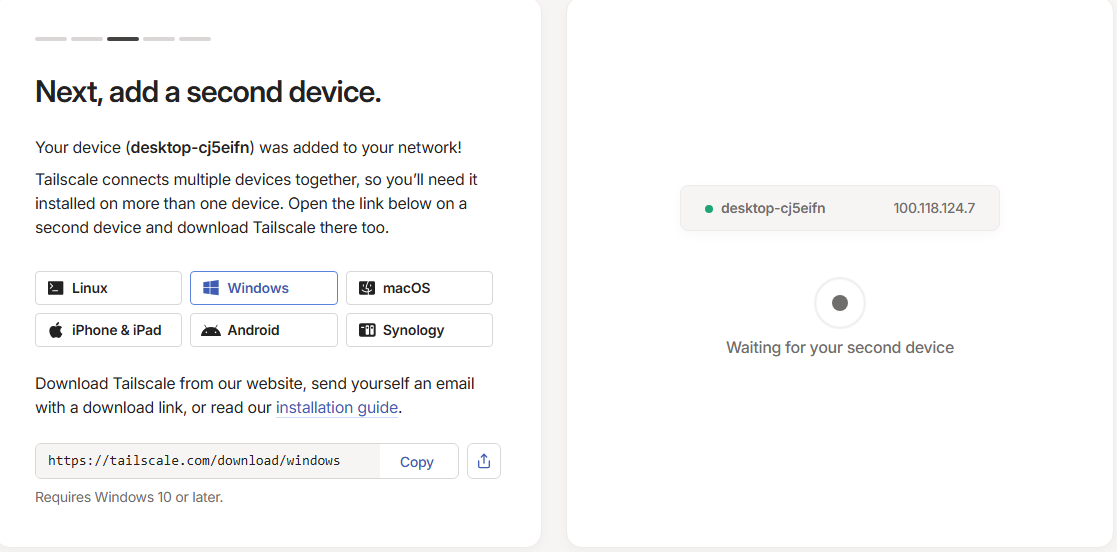
- After installation, click Sign in to your network to join the TailScale network.
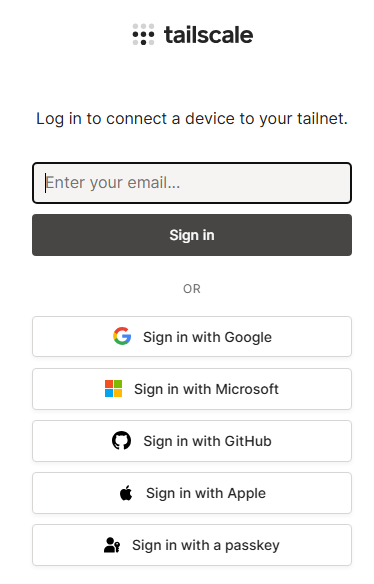
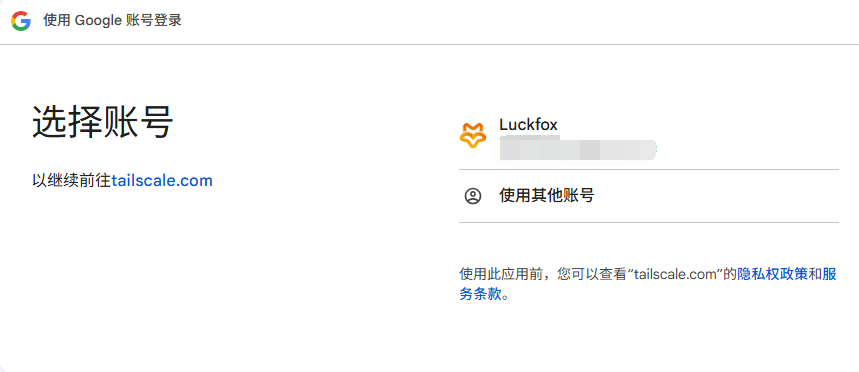
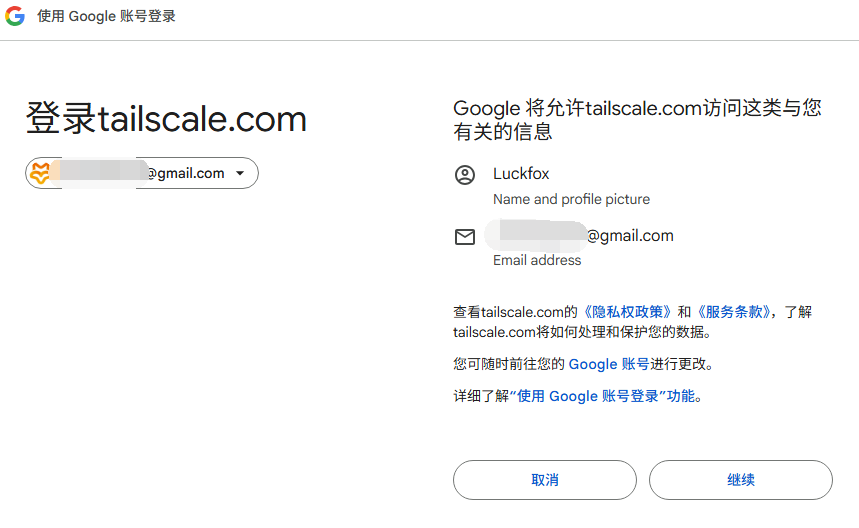
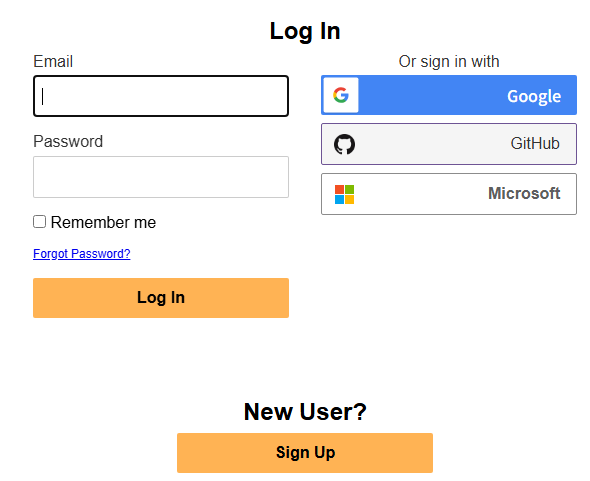
- Log in with your account (e.g., Google account) and continue.
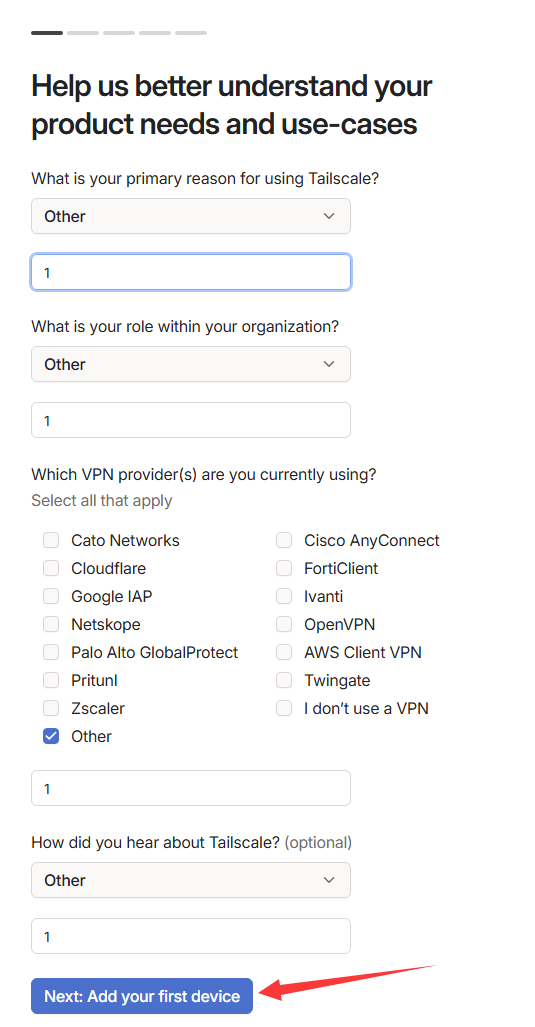
- On the first login, you need to complete a survey. Select Other for all fields, then click Add your first device to add the first device.
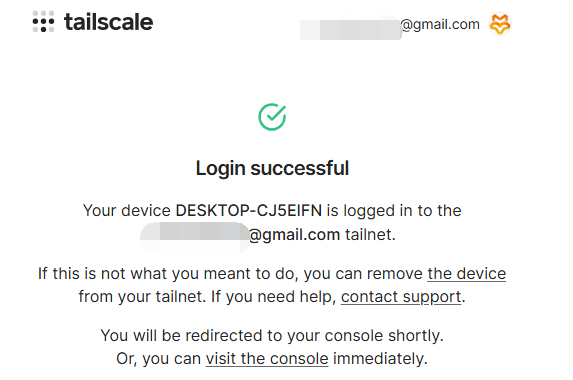
- The first device is now successfully connected to the TailScale network.
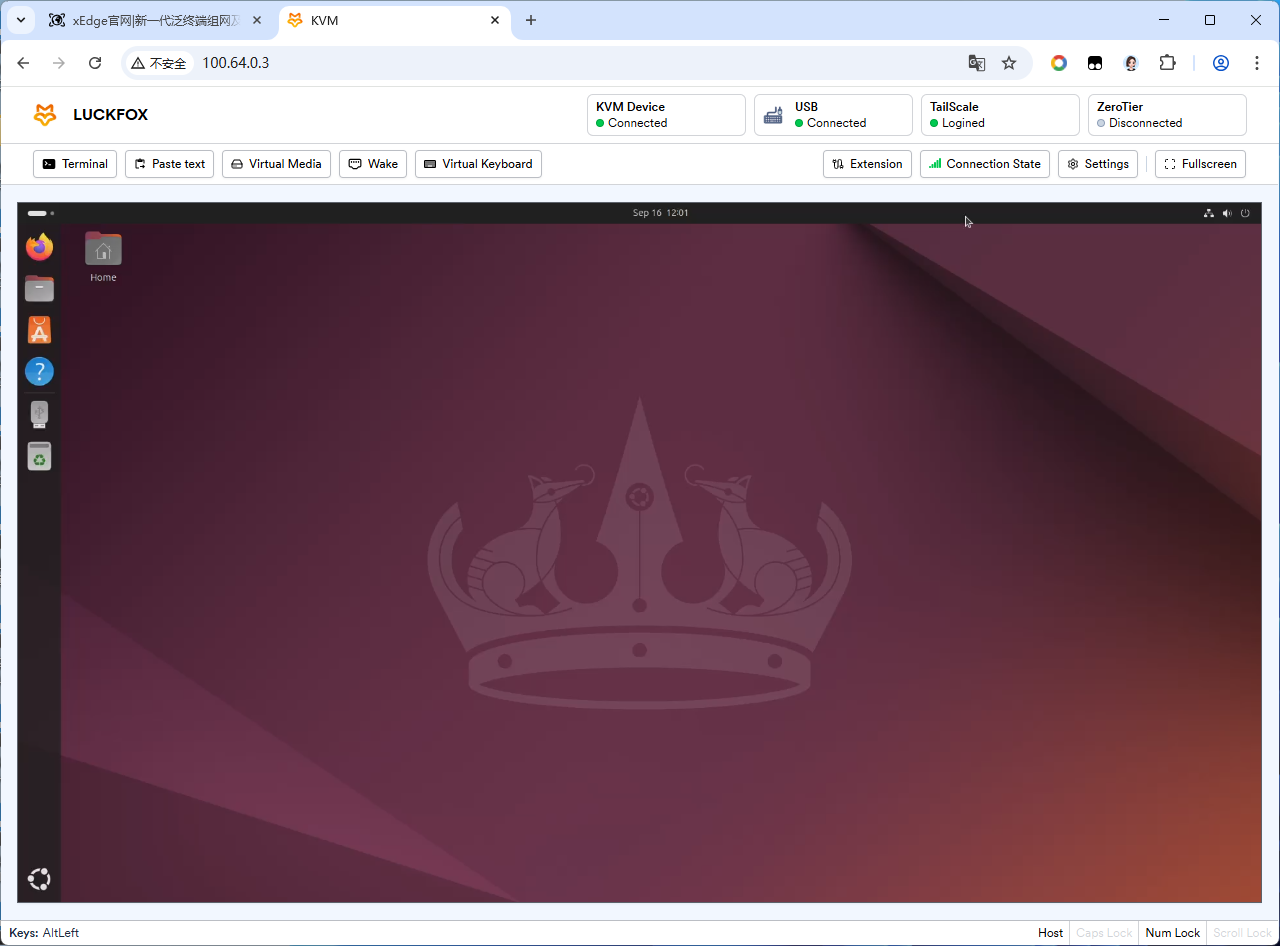
PicoKVM
- On the PicoKVM interface, go to Settings → Access.
- Click Enable to activate TailScale.
- Click LoginUrl to complete login.
- Log in with a Google account.
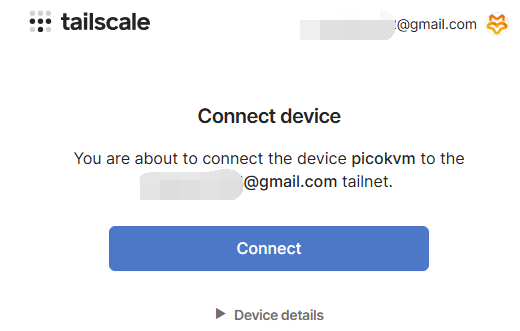
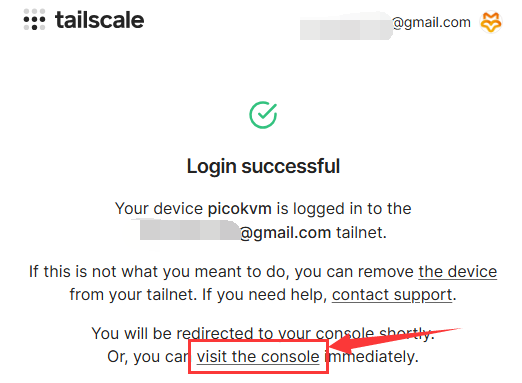
- PicoKVM will now be connected to TailScale.
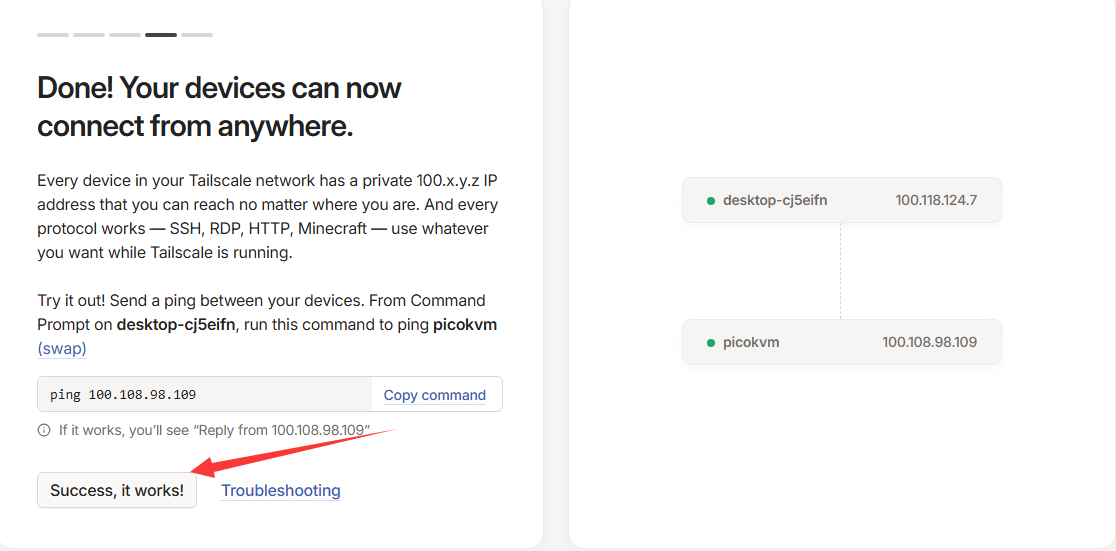
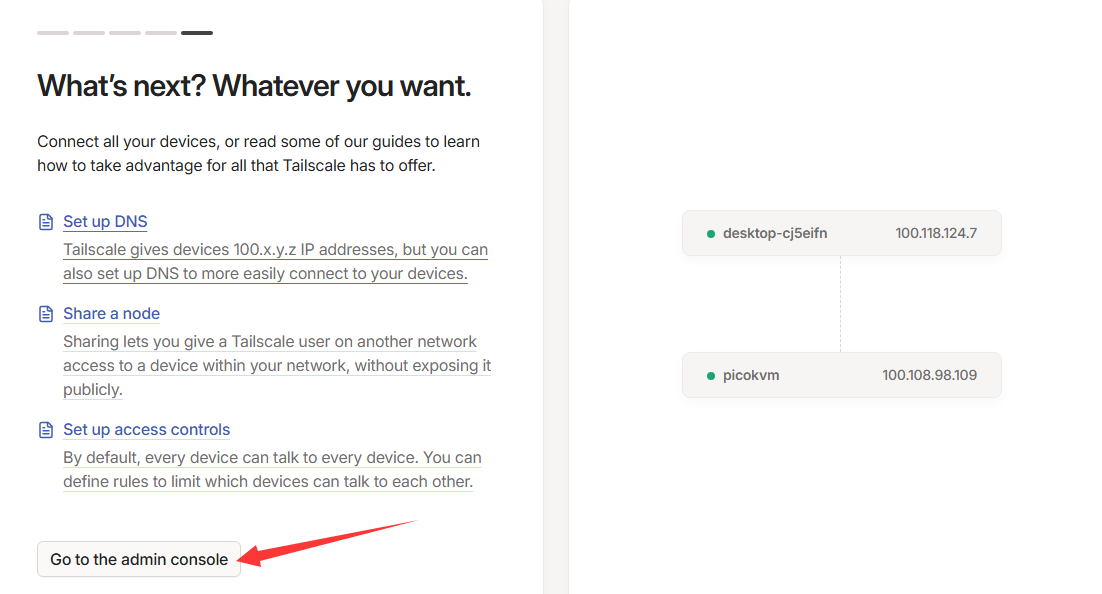
- Click Success, it works, then choose Go to the admin console to enter the management console.
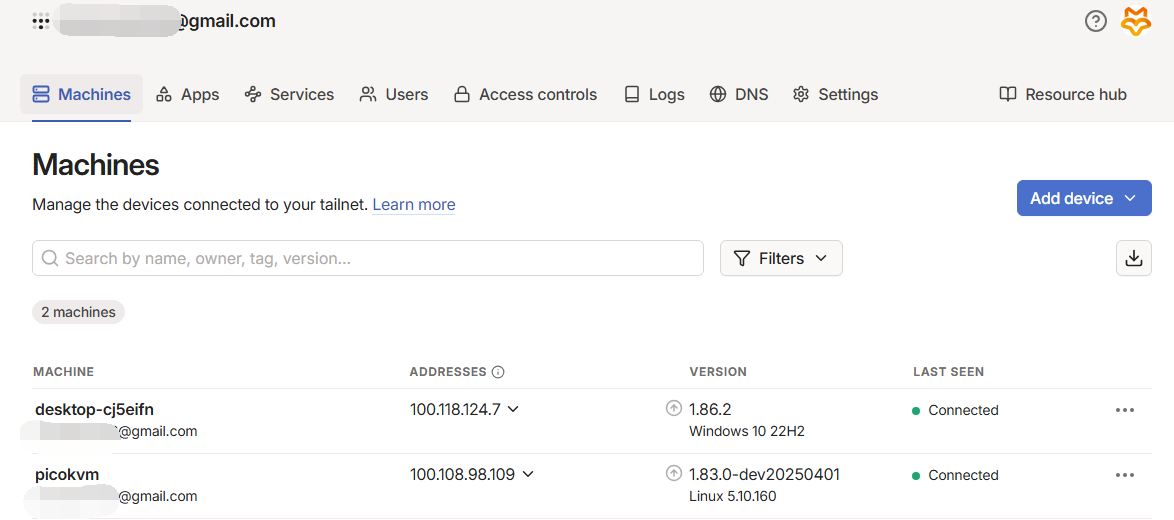
- Copy the assigned IP address from the TailScale console (make sure the proxy is disabled) to access PicoKVM.
For more TailScale tutorials, visit: https://tailscale.com/kb/1017/install
4. Zerotier (Requires VPN/Proxy)
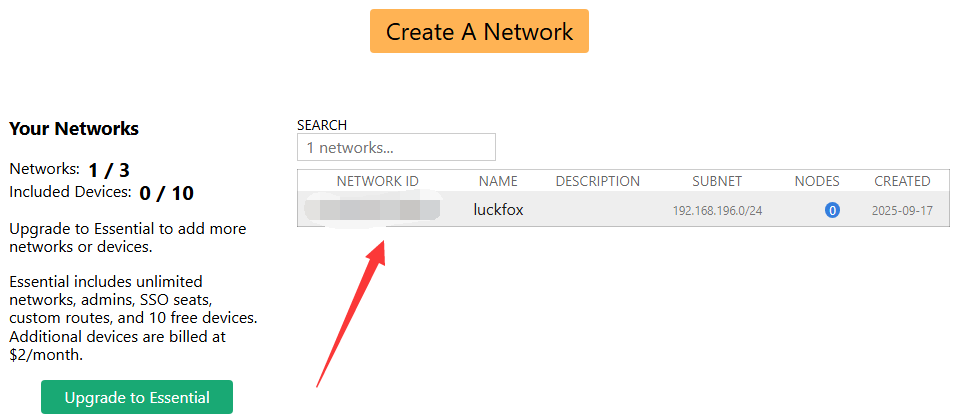
4.1 Log in to ZeroTier Website
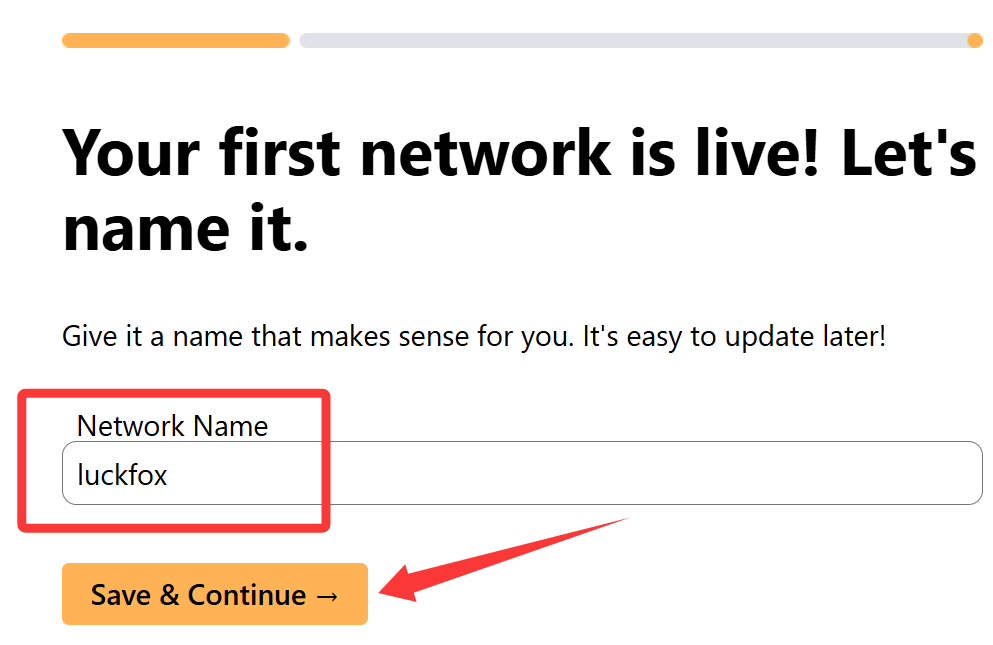
- Go to the ZeroTier website and log in with an existing account (e.g., Google account).

- On the first login, you can create a network. Note that network names cannot contain punctuation or spaces.
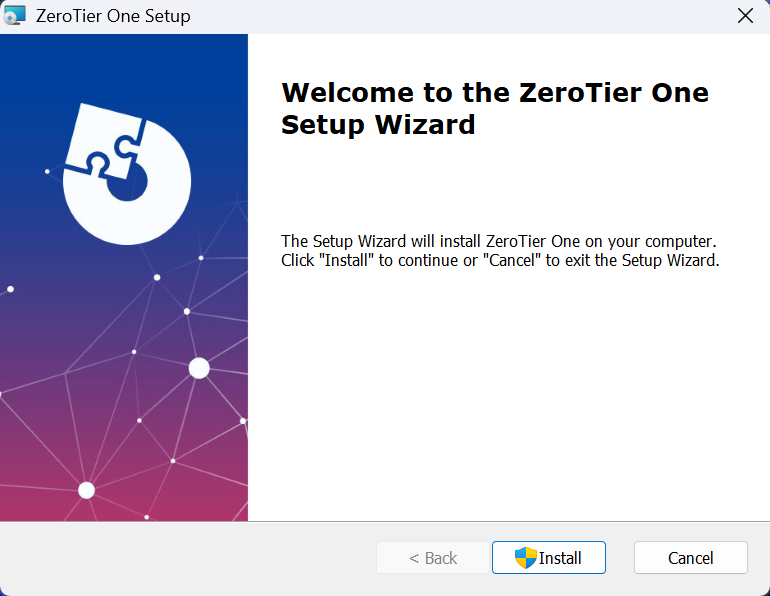
4.2 Download and Install ZeroTier Client
- On the website, click Download for Windows (choose the correct version for your OS; Windows is used as an example).
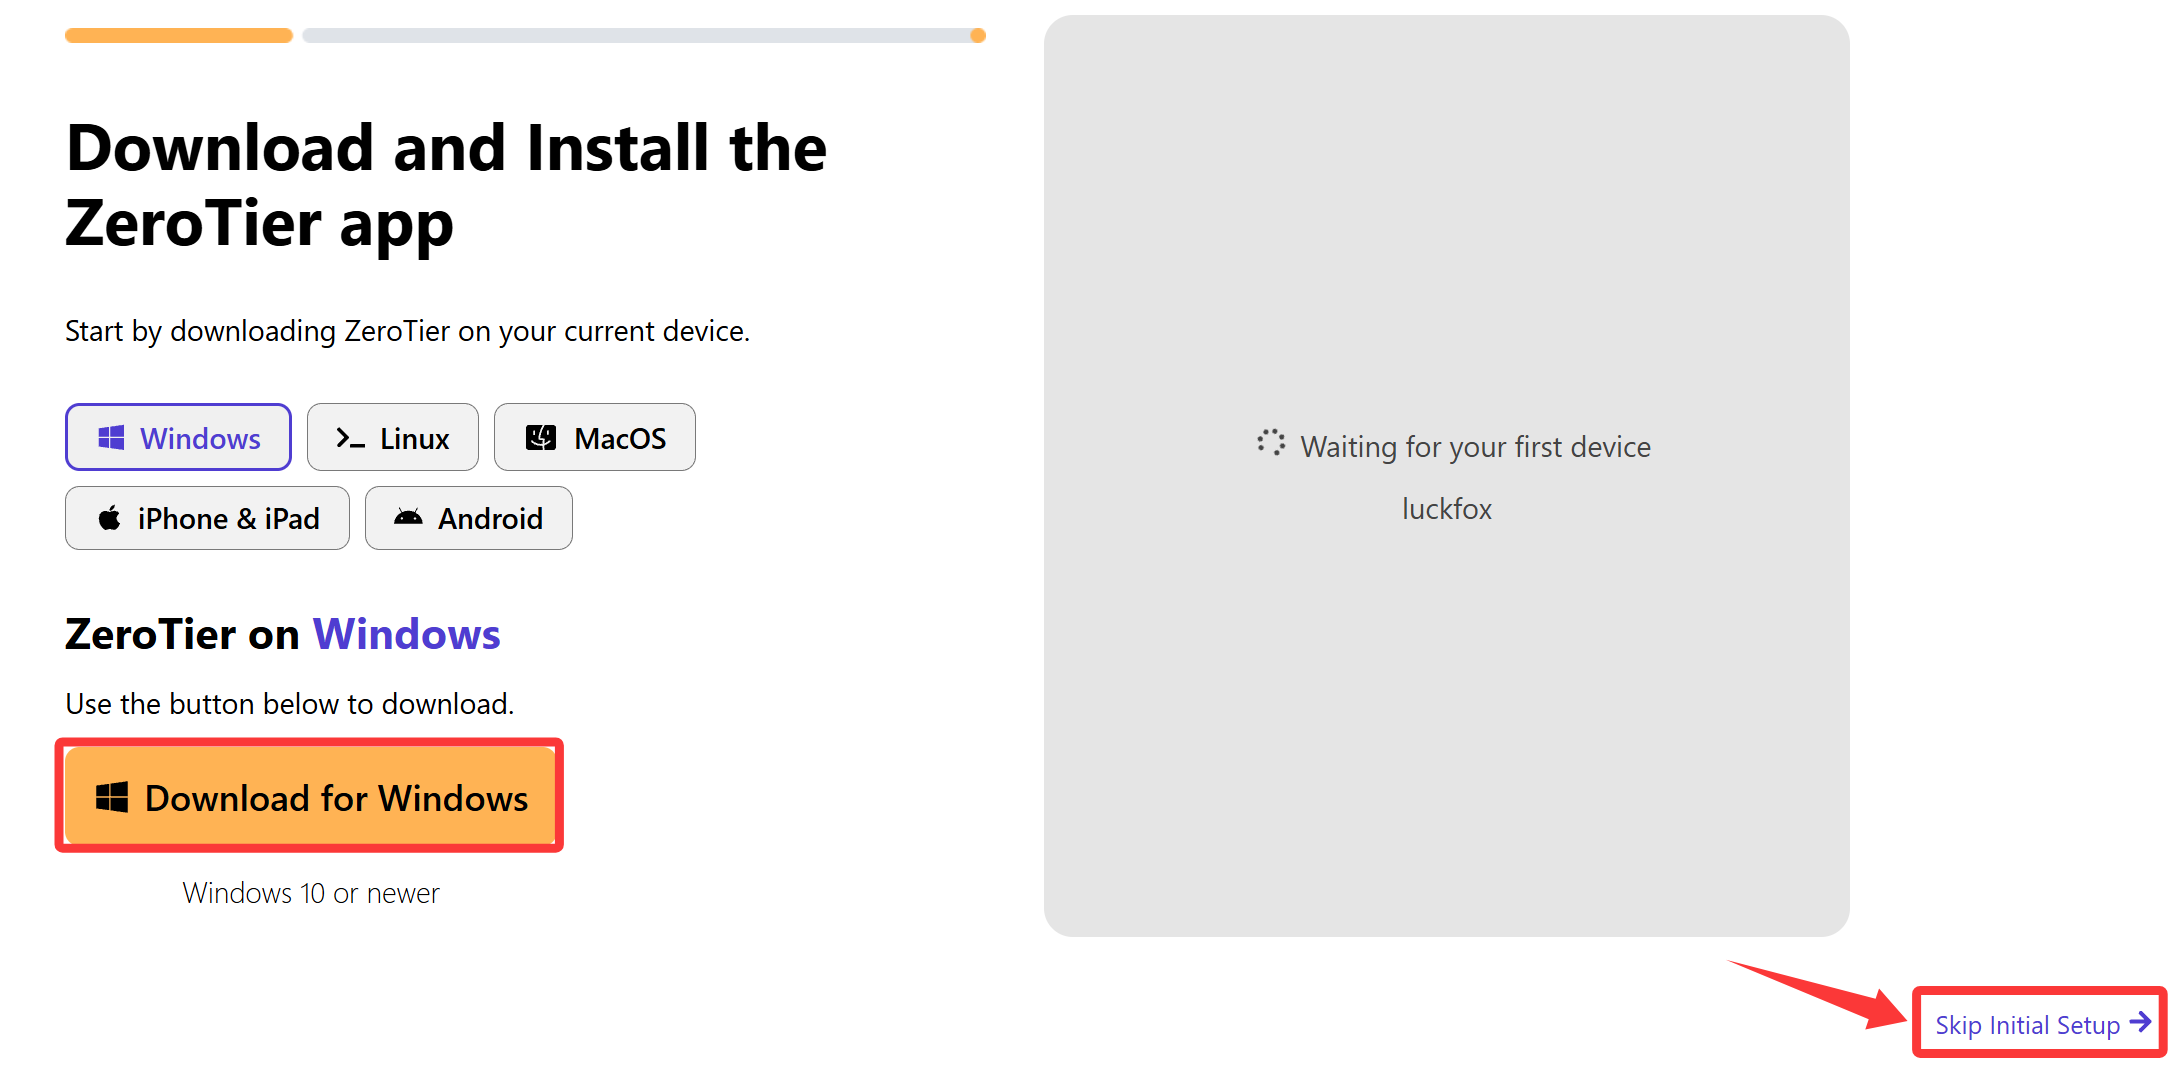
- Once downloaded, run the installer and complete installation.
- After installation, return to the ZeroTier web console. On the prompt screen, click Skip Initial Setup to enter the network management page.
4.3 Add Windows Host to ZeroTier Network
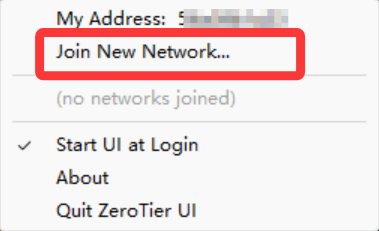
- Open the installed ZeroTier client (usually located in the system tray; right-click the icon for options).
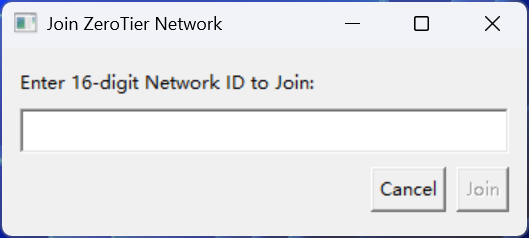
- Paste the previously created Network ID into the client and click Join.
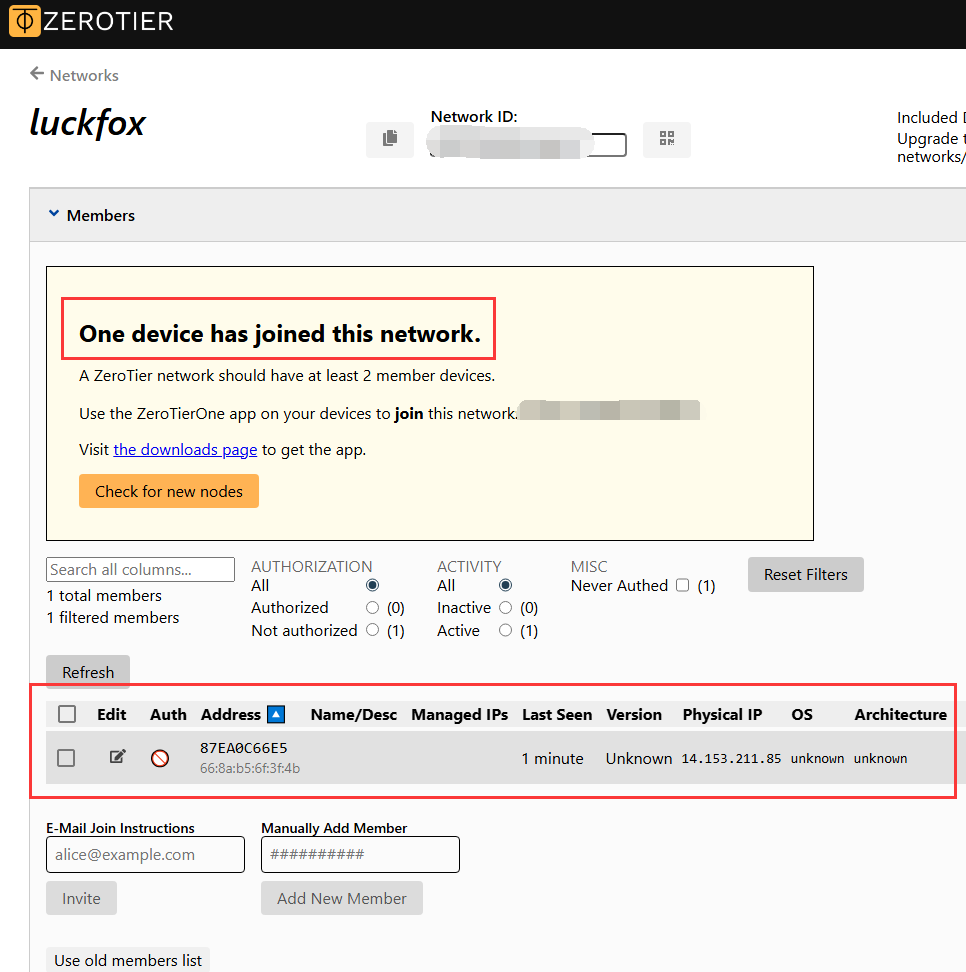
- Return to the ZeroTier web console. Refresh to see that the Windows host has joined the network.
4.4 Add PicoKVM to ZeroTier Network
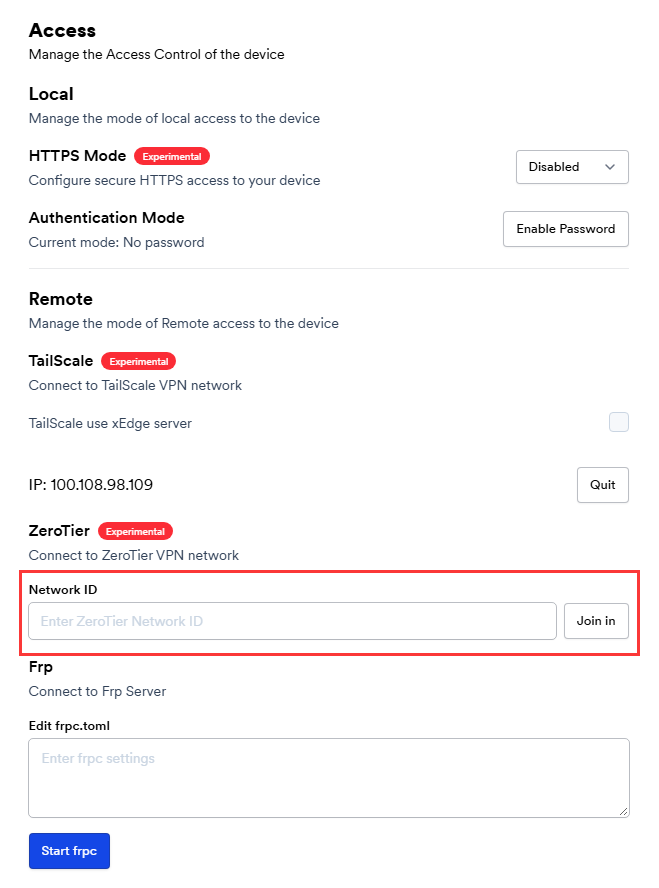
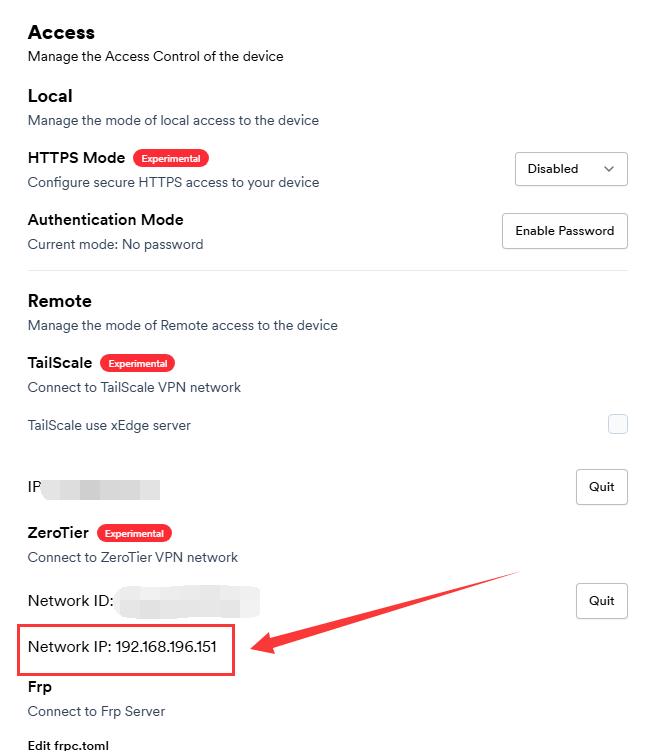
- On the PicoKVM management interface, go to Settings → Access.
- Paste the same Network ID into the input box and save.
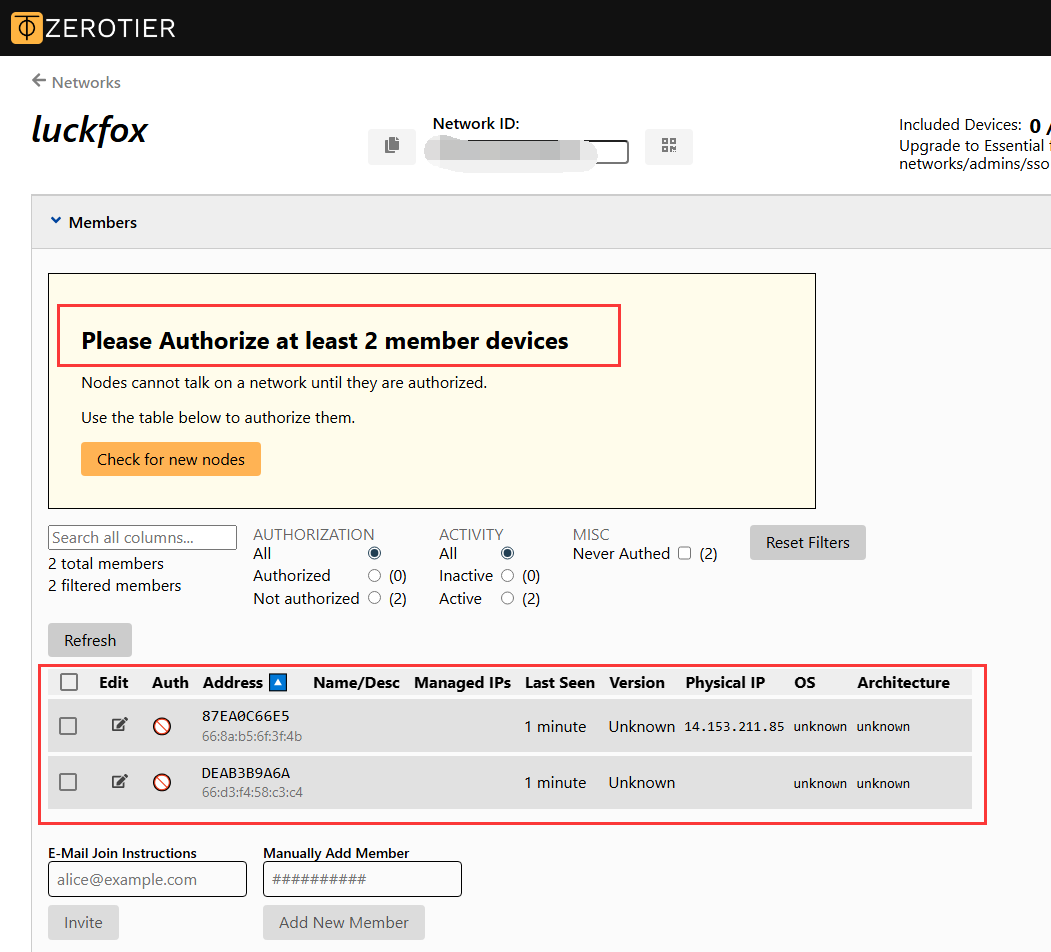
- Refresh the page to see PicoKVM listed in the ZeroTier management console.
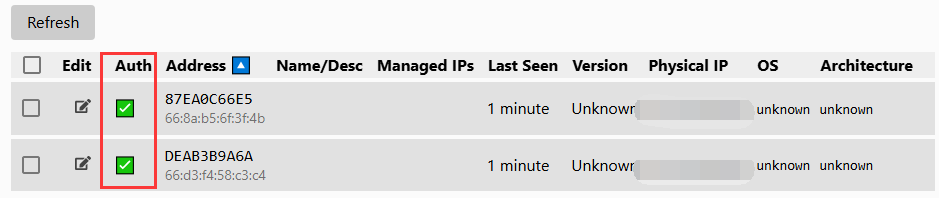
4.5 Authorize Devices to Join the Network
- In the ZeroTier web console, check both the Windows host and PicoKVM devices.
- Click Auth to authorize them.
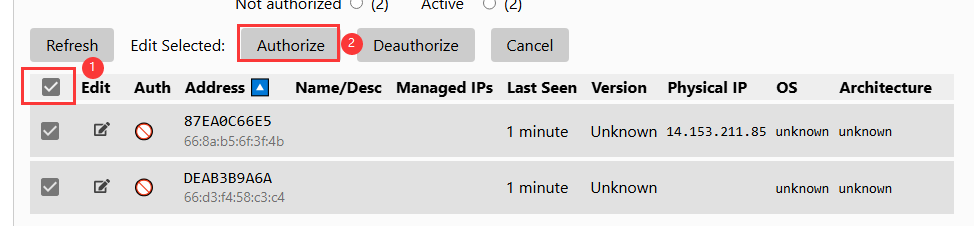
- Once authorized, PicoKVM will display its assigned ZeroTier virtual IP address.
4.6 Access PicoKVM
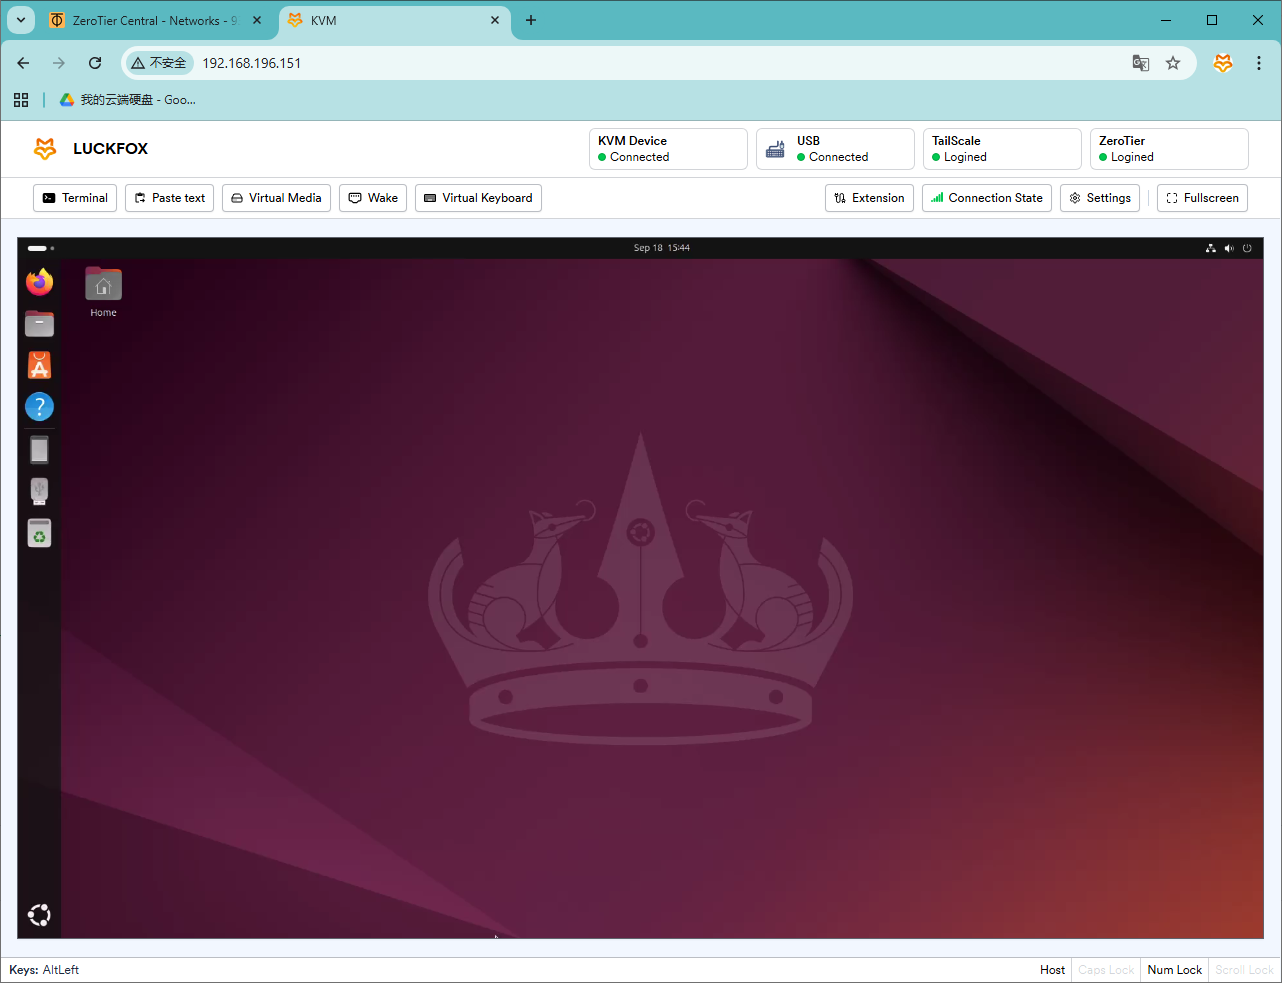
- Copy the IP address assigned to PicoKVM.
- Make sure the proxy is disabled, then enter the IP address in a browser to directly access PicoKVM.
For more ZeroTier tutorials, visit: https://docs.zerotier.com/quickstart/