Remote OS Installation
1. Introduction to Virtual Media
The Virtual Media feature allows PicoKVM to emulate a read-only virtual CD/DVD or disk drive on the target host.
This virtual drive is also available during the BIOS/UEFI boot stage, making it useful for scenarios such as:
- Reinstalling the operating system
- Mounting ISO images to install applications on the controlled host
PicoKVM supports the following image formats: ISO, IMG, QCOW2, WDI, VMDK.
Two drive modes are available:
- CD/DVD Mode
- Disk Drive Mode
Only one virtual drive can be mounted at a time, and the drive mode must be selected before mounting an image.
2. Local Mount
The local storage mounting function allows images stored in PicoKVM’s built-in eMMC or MicroSD card to be mounted on the controlled host.
The host accesses the mounted image at USB 2.0 speed.
- The image must be uploaded to PicoKVM (or pre-stored on a MicroSD card) before mounting.
- Always insert or remove the MicroSD card while the device is powered off. PicoKVM does not support hot-swapping MicroSD cards.
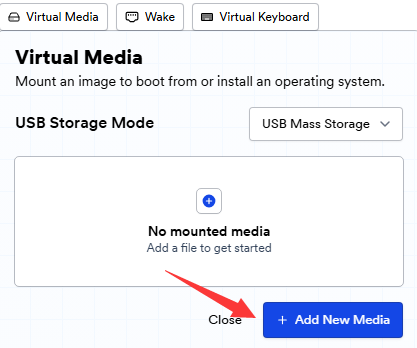
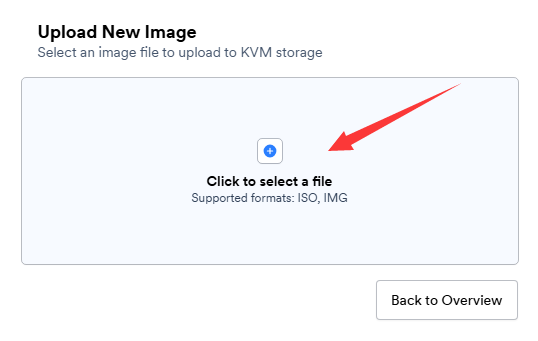
- Click Add New Media to add a new image.
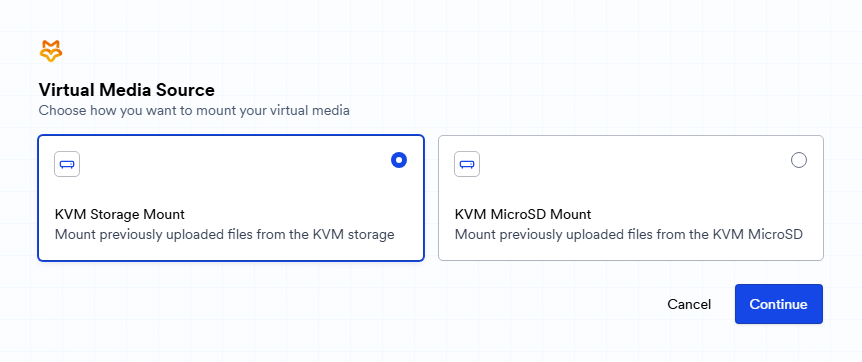
- Select the storage medium for the virtual drive: eMMC or TF card.
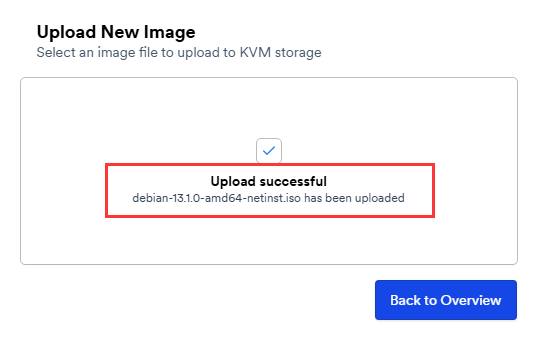
- Click Upload a New Image, select a local image file, and wait for the upload to complete.
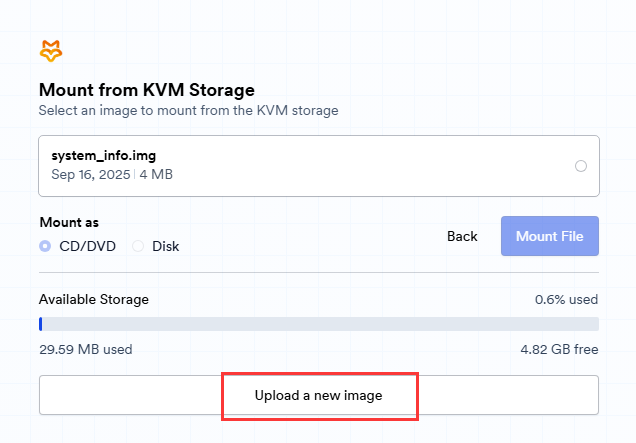
- When the page displays Upload successful, the image has been uploaded successfully.
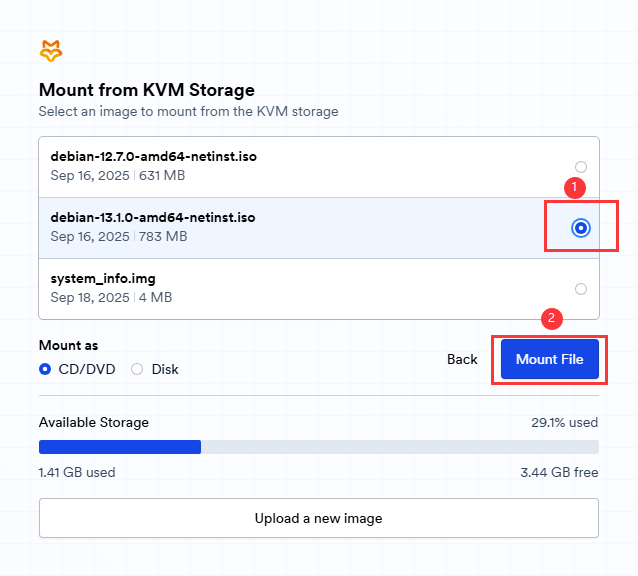
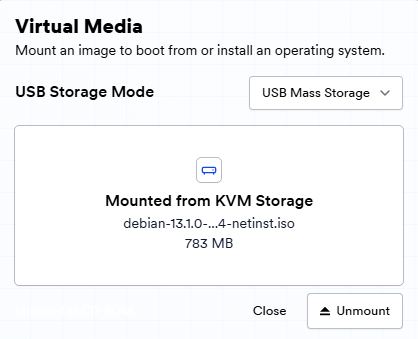
- From the list, select the uploaded image and click Mount File. After successful mounting, the system will display the corresponding status.
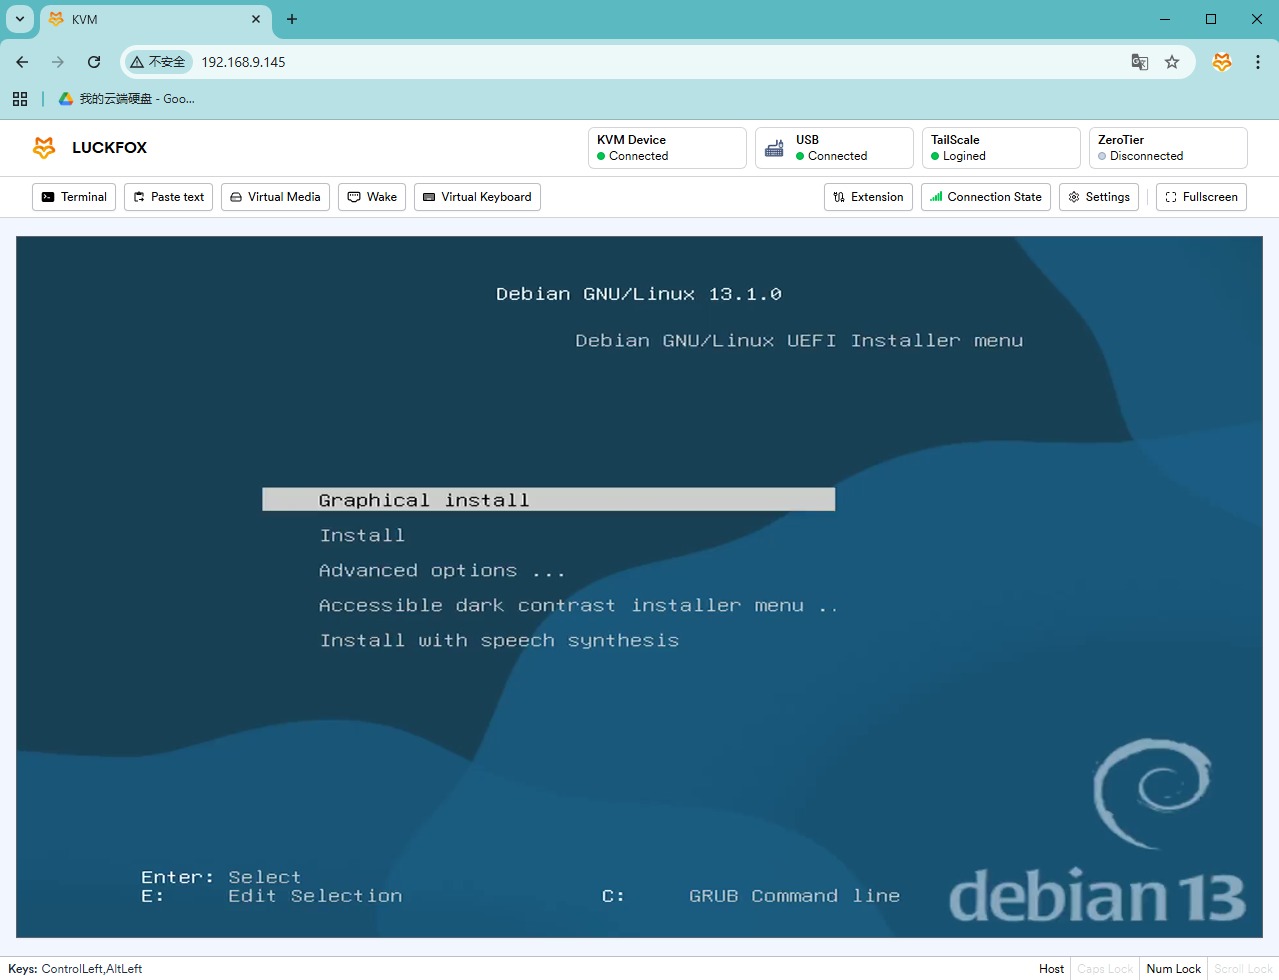
3. Remote OS Installation
- Reboot the controlled host and press the hotkey to enter the BIOS setup.
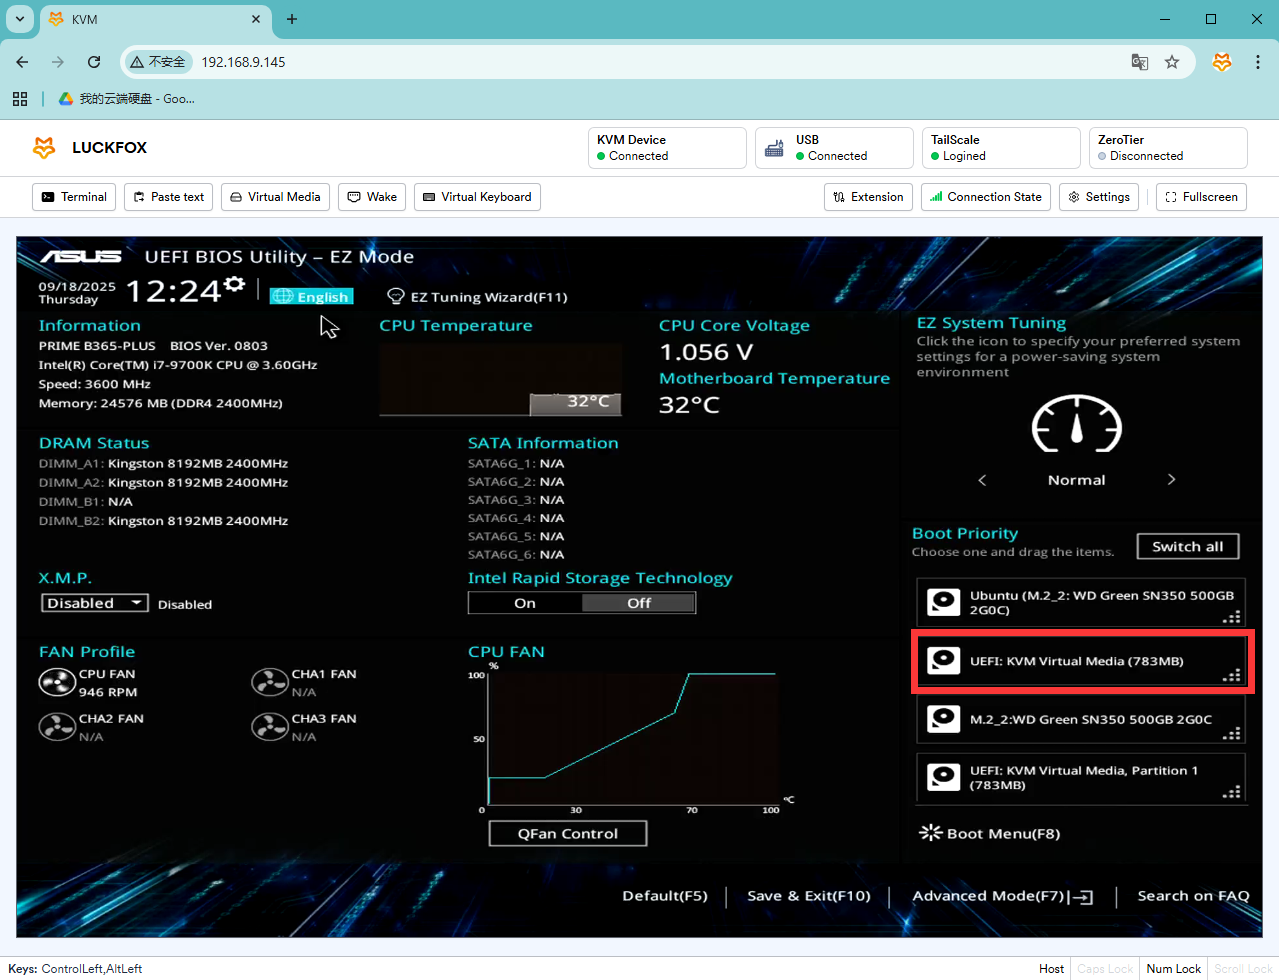
- Set PicoKVM Virtual Media as the boot device.
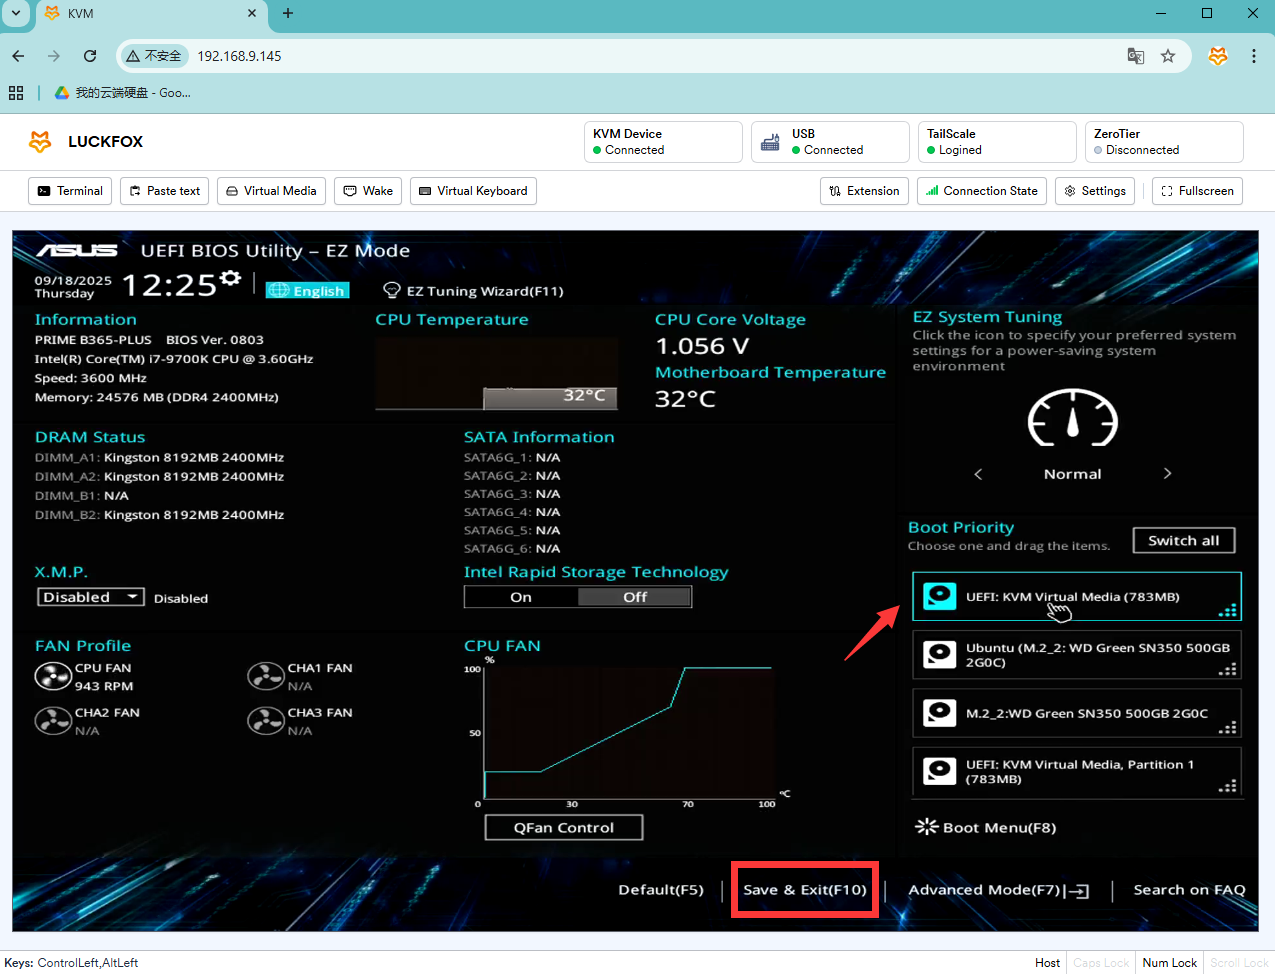
- Press F10 to save and exit the BIOS. The system will boot from the virtual media and enter the installation interface.