Getting Started
Connect the controlled host’s video output to the KVM’s HDMI port using an HDMI cable.
Connect the controlled host to the KVM via a USB cable.This connection provides both keyboard/mouse control and KVM power supply, as well as the following functions:
Mouse: Supports two modes
- Relative Mode: Standard mouse operation. Reports the distance and direction of movement, moving the cursor relative to its current position.
- Absolute Mode: Cursor position directly maps to screen coordinates. Suitable for touchscreens or operations requiring precise positioning.
Keyboard: Standard keyboard input.
UMS (USB Mass Storage): Mount image files or external storage devices.
UAC (USB Audio Class): Provides sound card functionality.
Connect the KVM to a local area network (LAN) or the Internet using an Ethernet cable.
Successful startup:
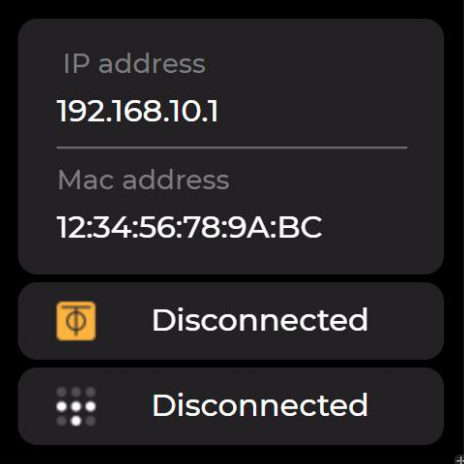
- Full Version: The LCD screen displays the HDMI and USB connection status. Swipe left or right to access the network interface and check the IP address.

-Base Version: Access
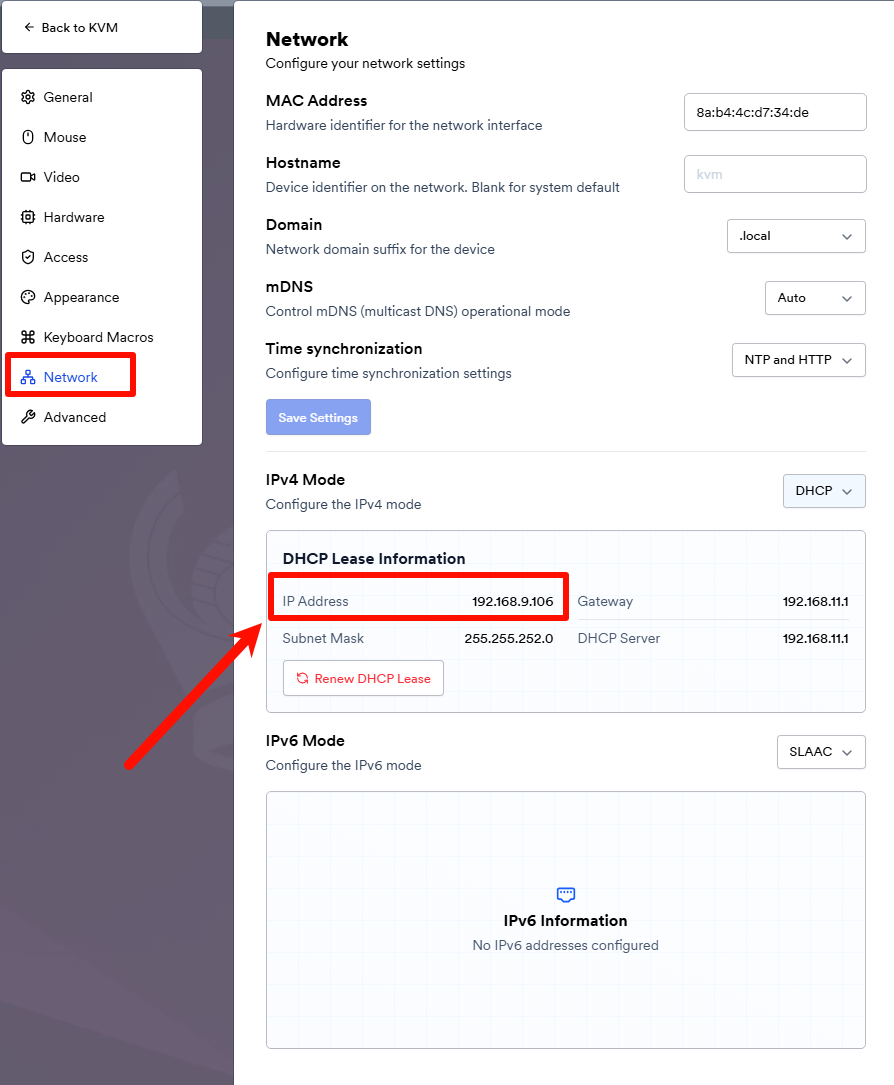
http://picokvm.local/in a browser (make sure proxy is disabled) to obtain the IP address. Alternatively, log into the system via serial console and runifconfigin the command line.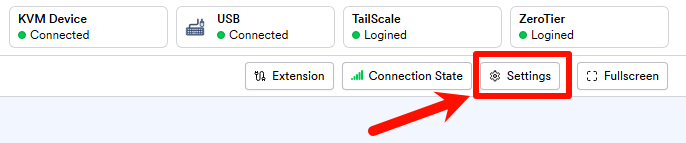
- Full Version: The LCD screen displays the HDMI and USB connection status. Swipe left or right to access the network interface and check the IP address.
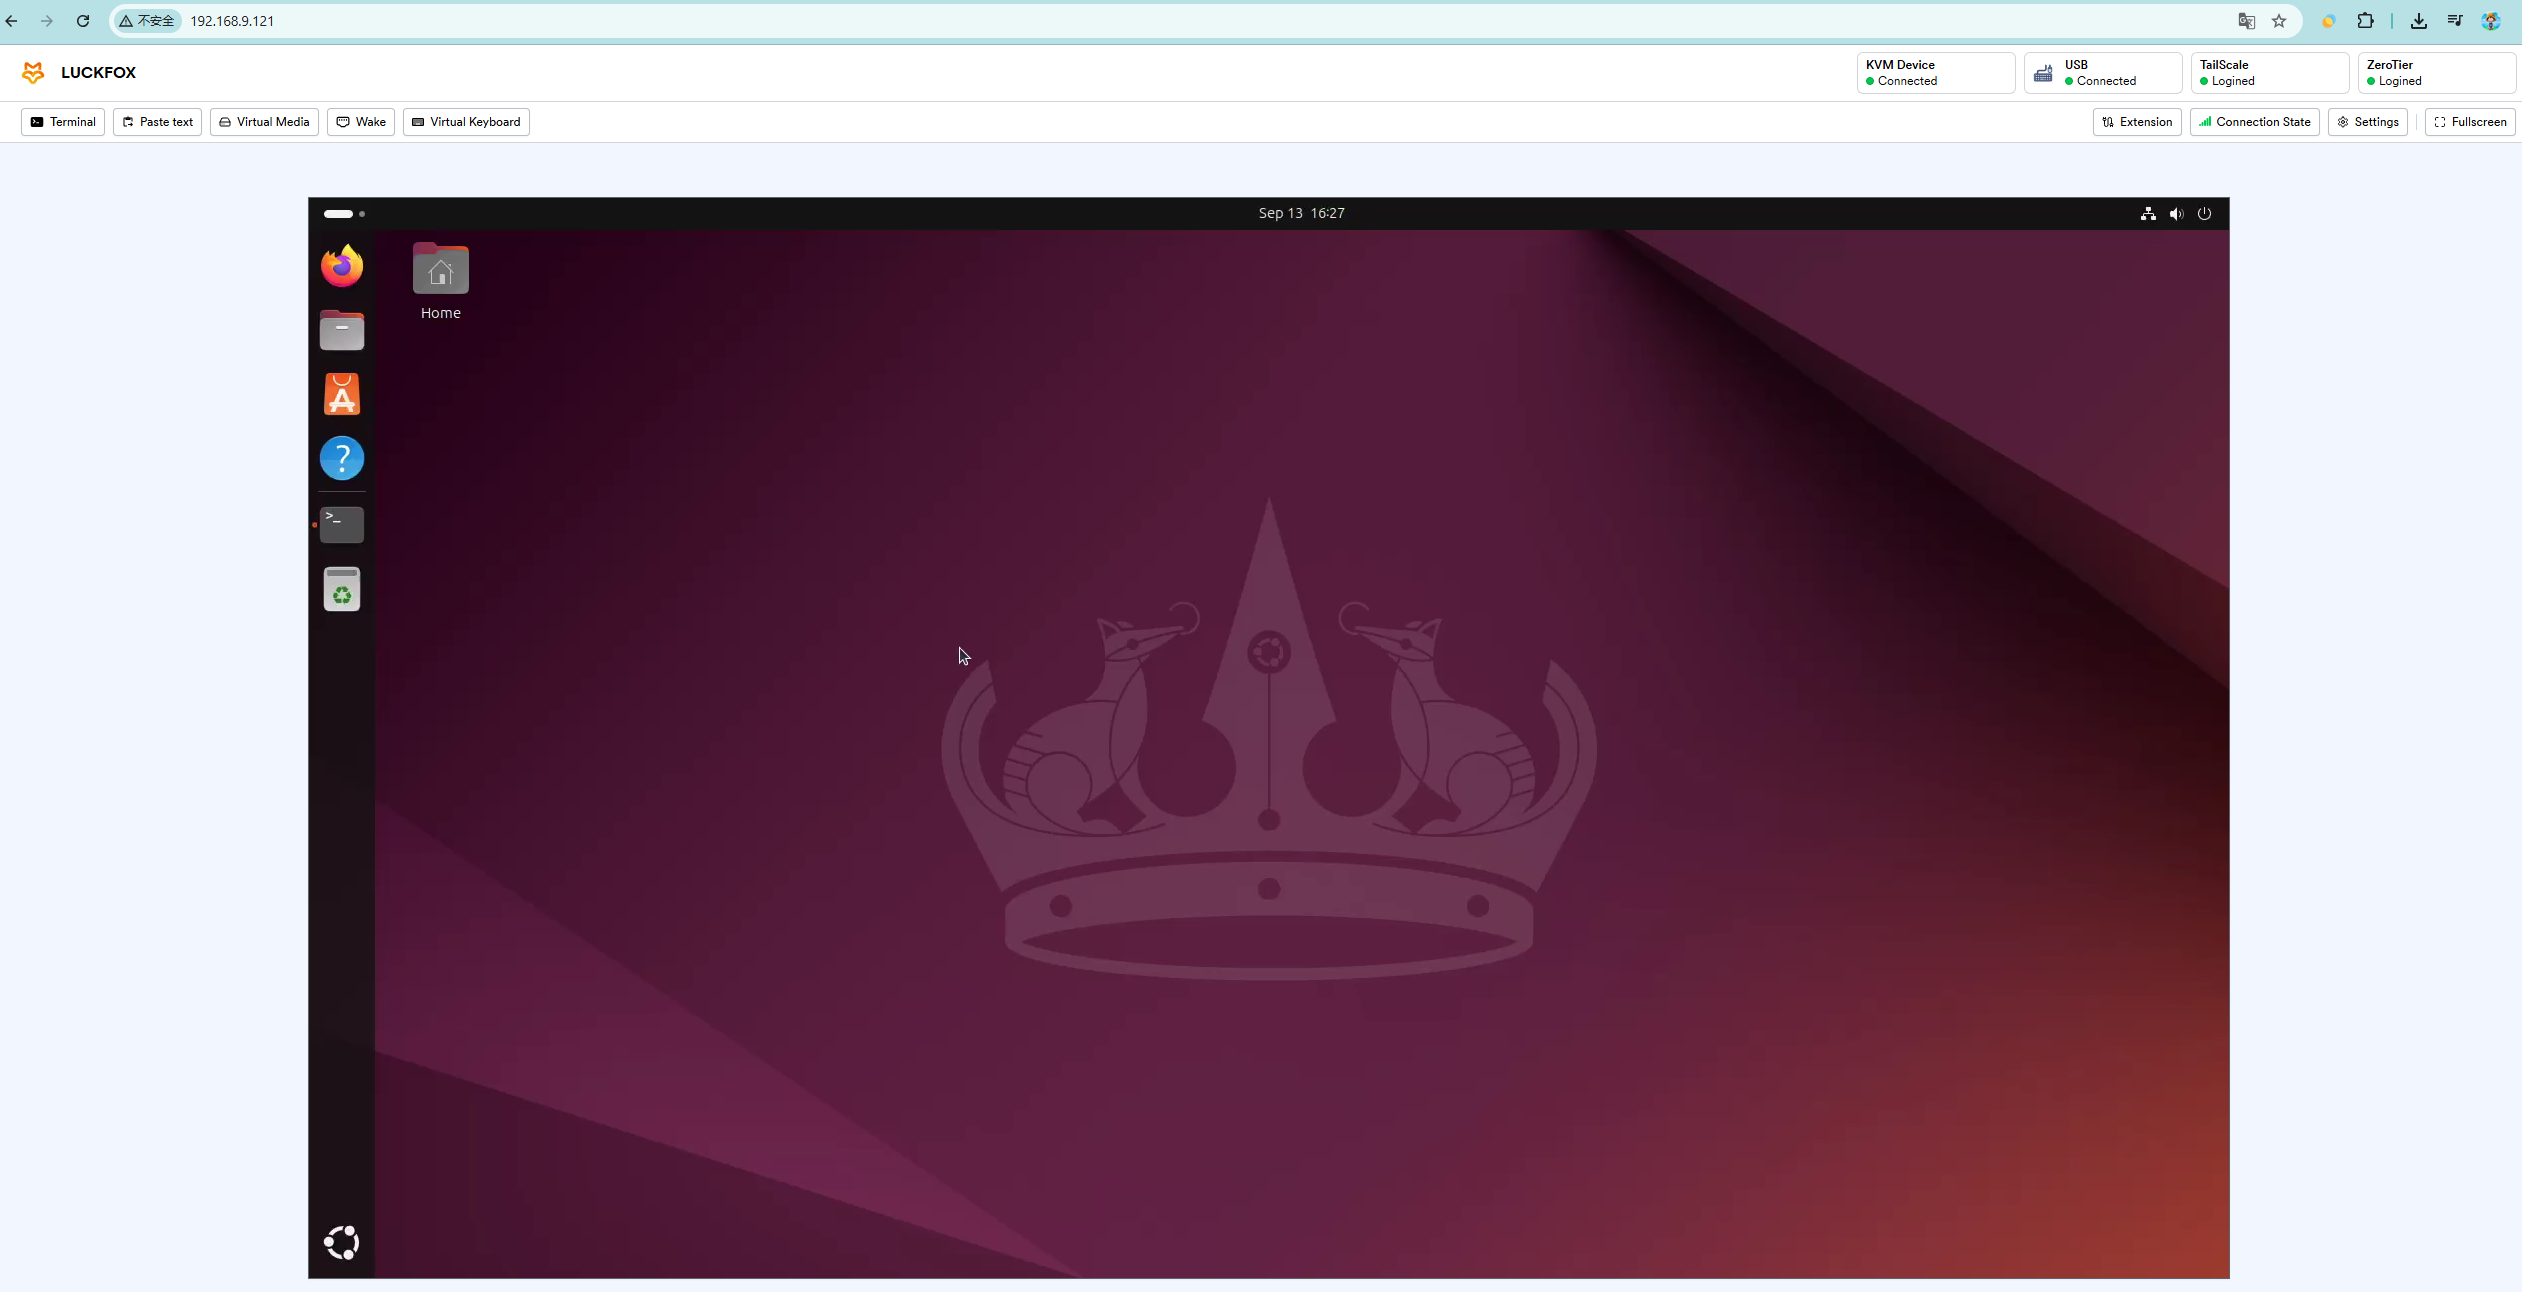
Enter the obtained IP address in a browser within the LAN to access the web control interface.